


Now In Stereo
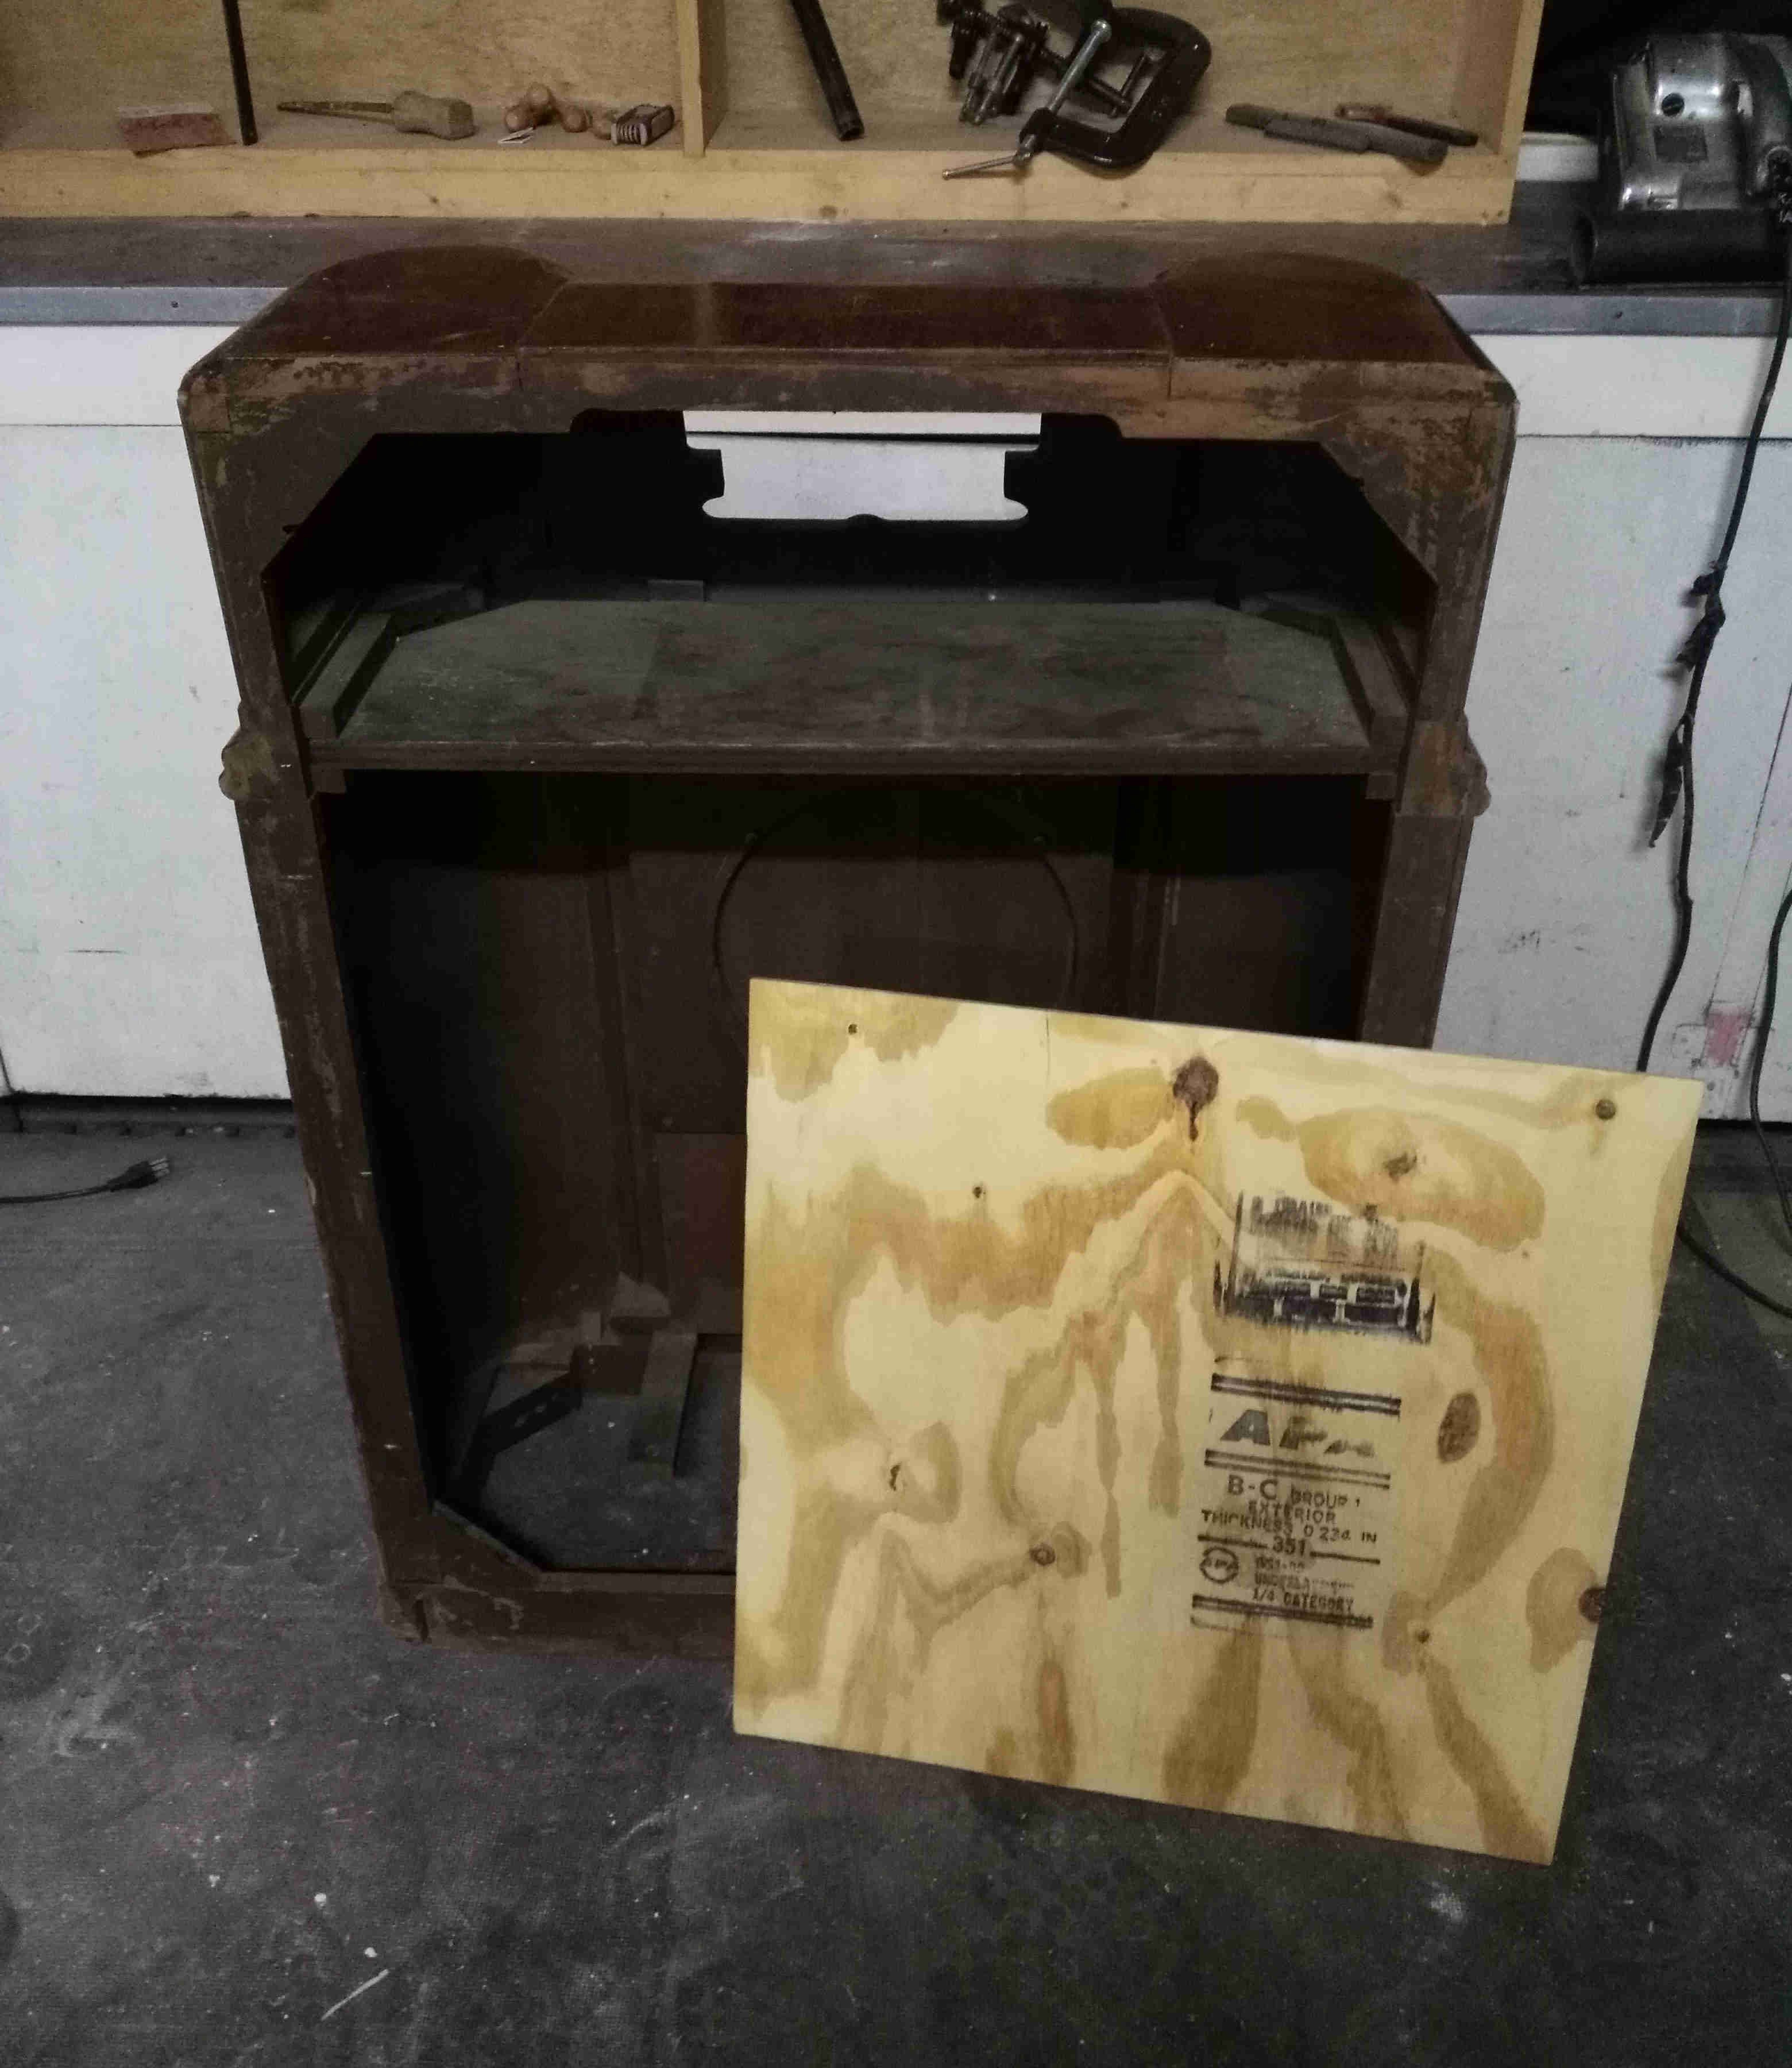
This past week I had a couple days off work, so I decided to make use of this time to mount new speakers in the radio cabinet. I picked up some 1/4” plywood to act as a adapter to fit the two new speakers into the hole left by the old one.
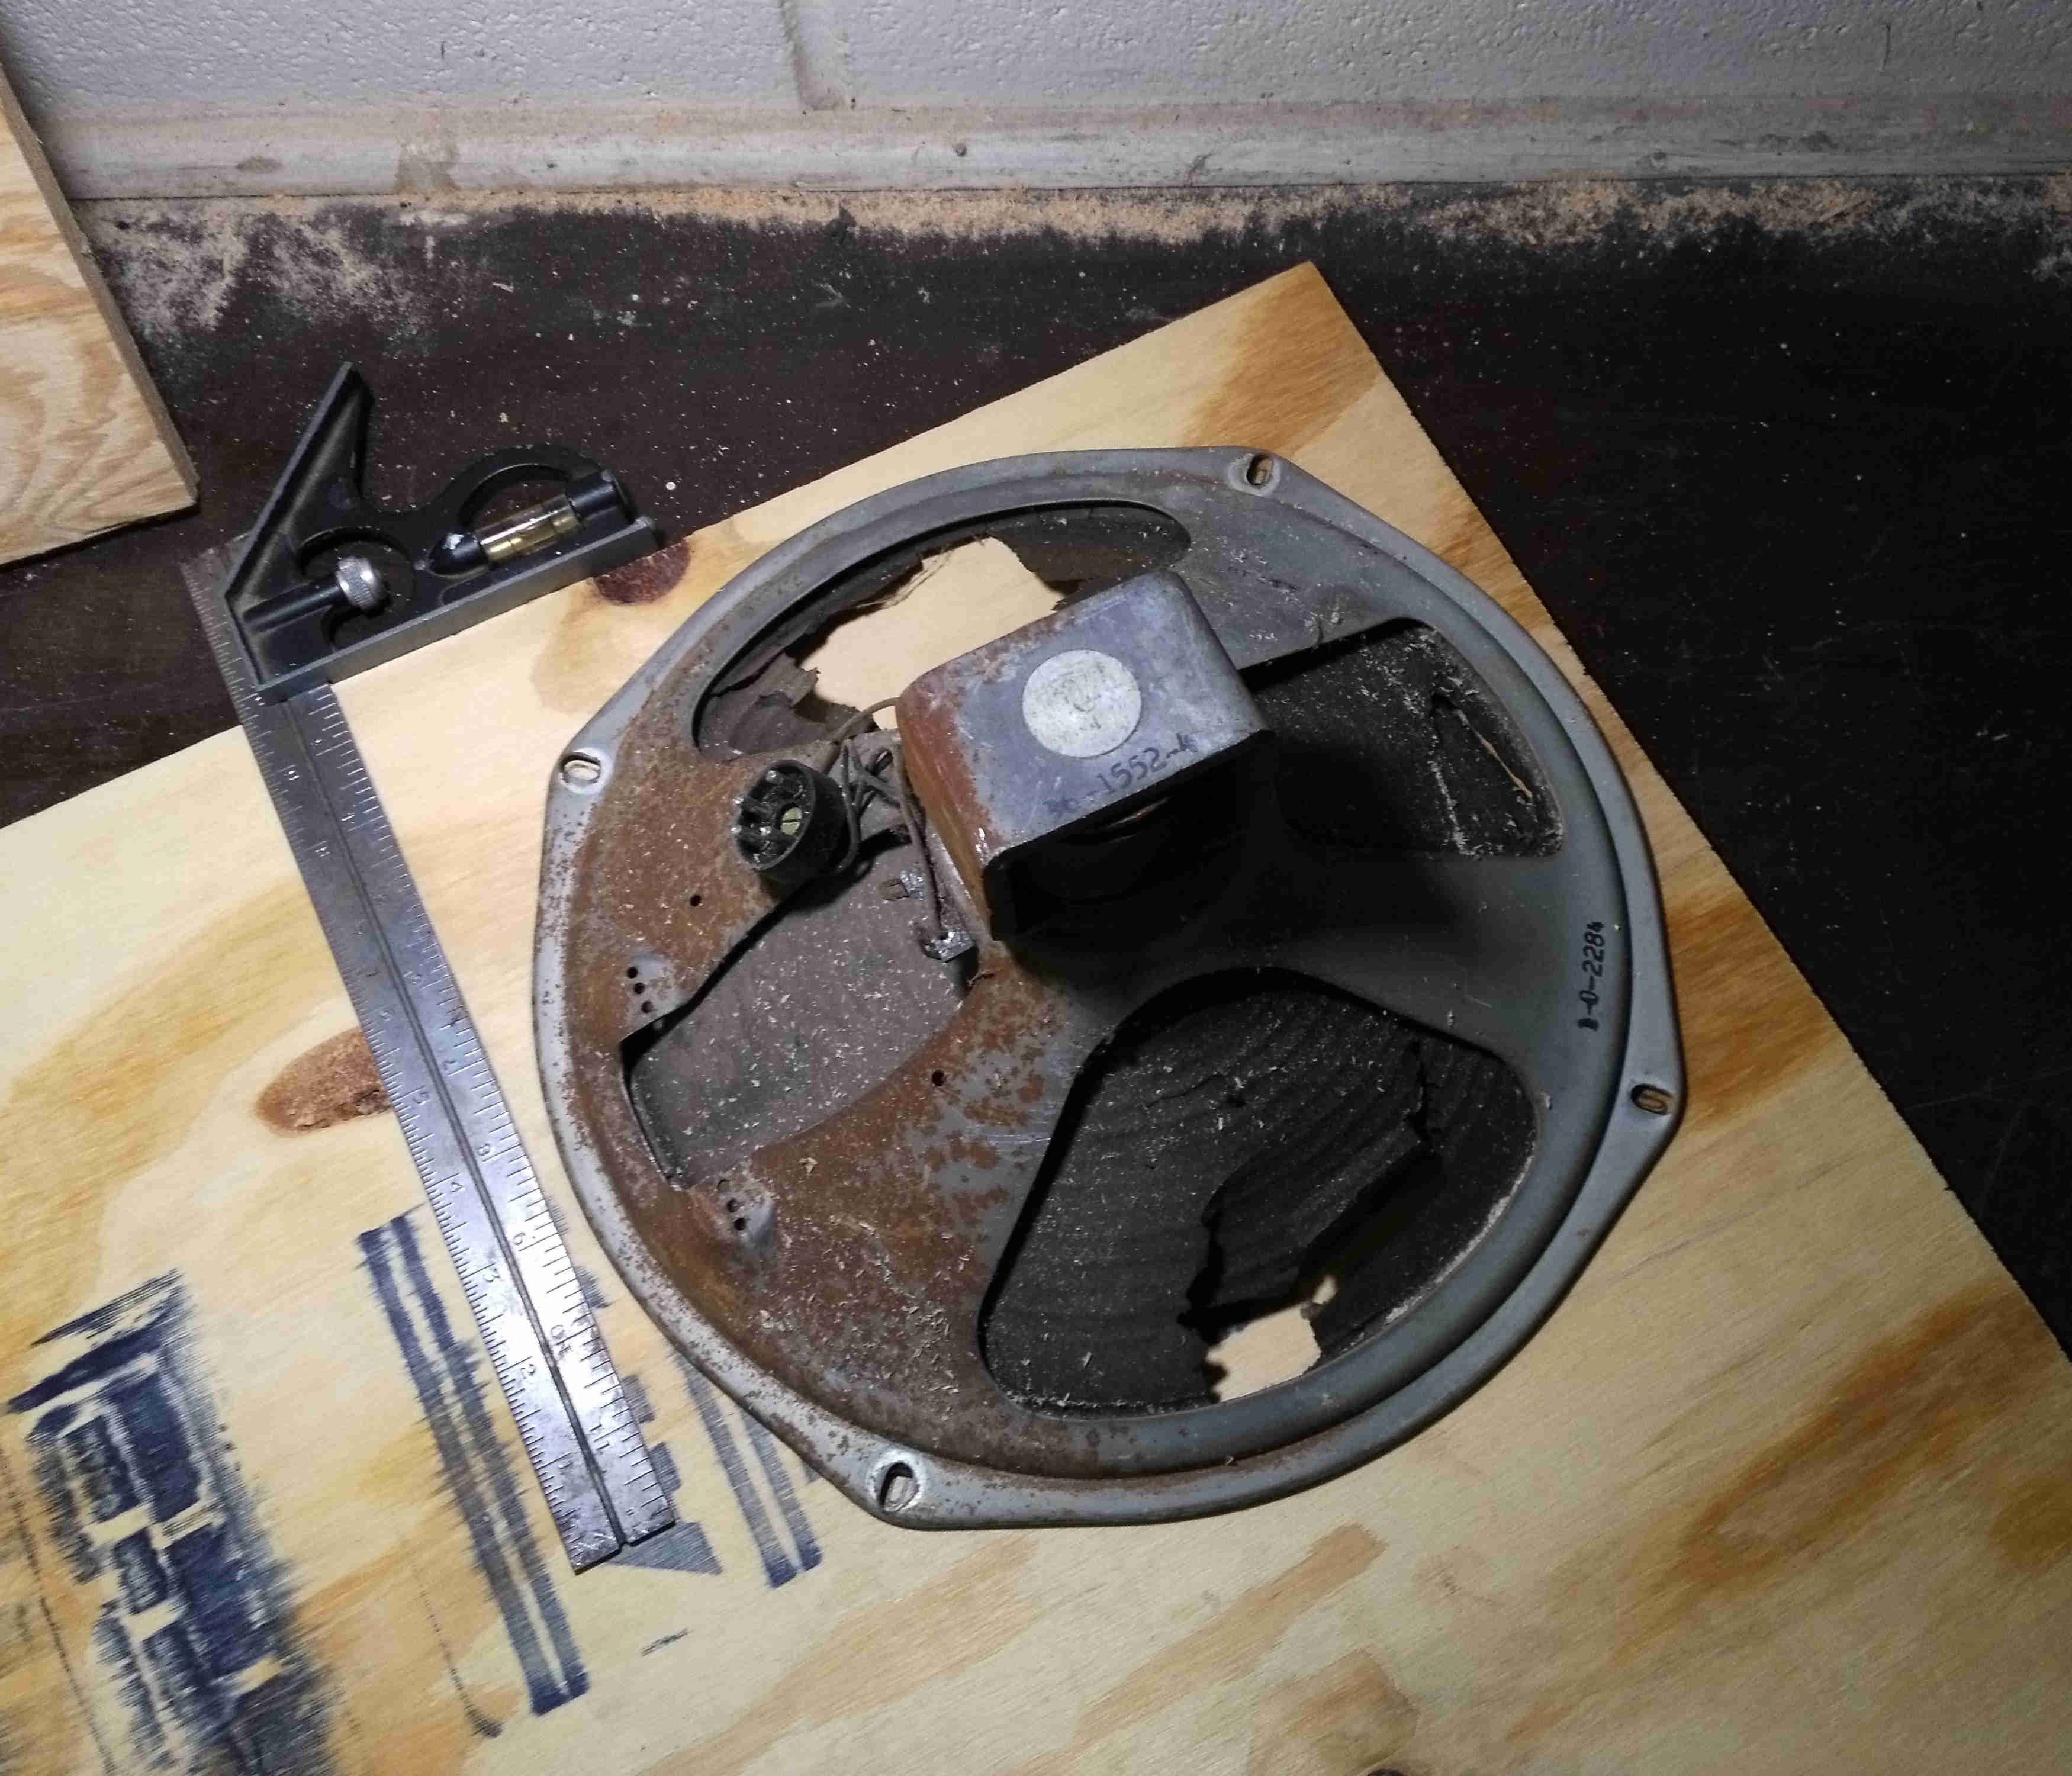
I used the old speaker as a guide to mark where mounting holes needed to be drilled.
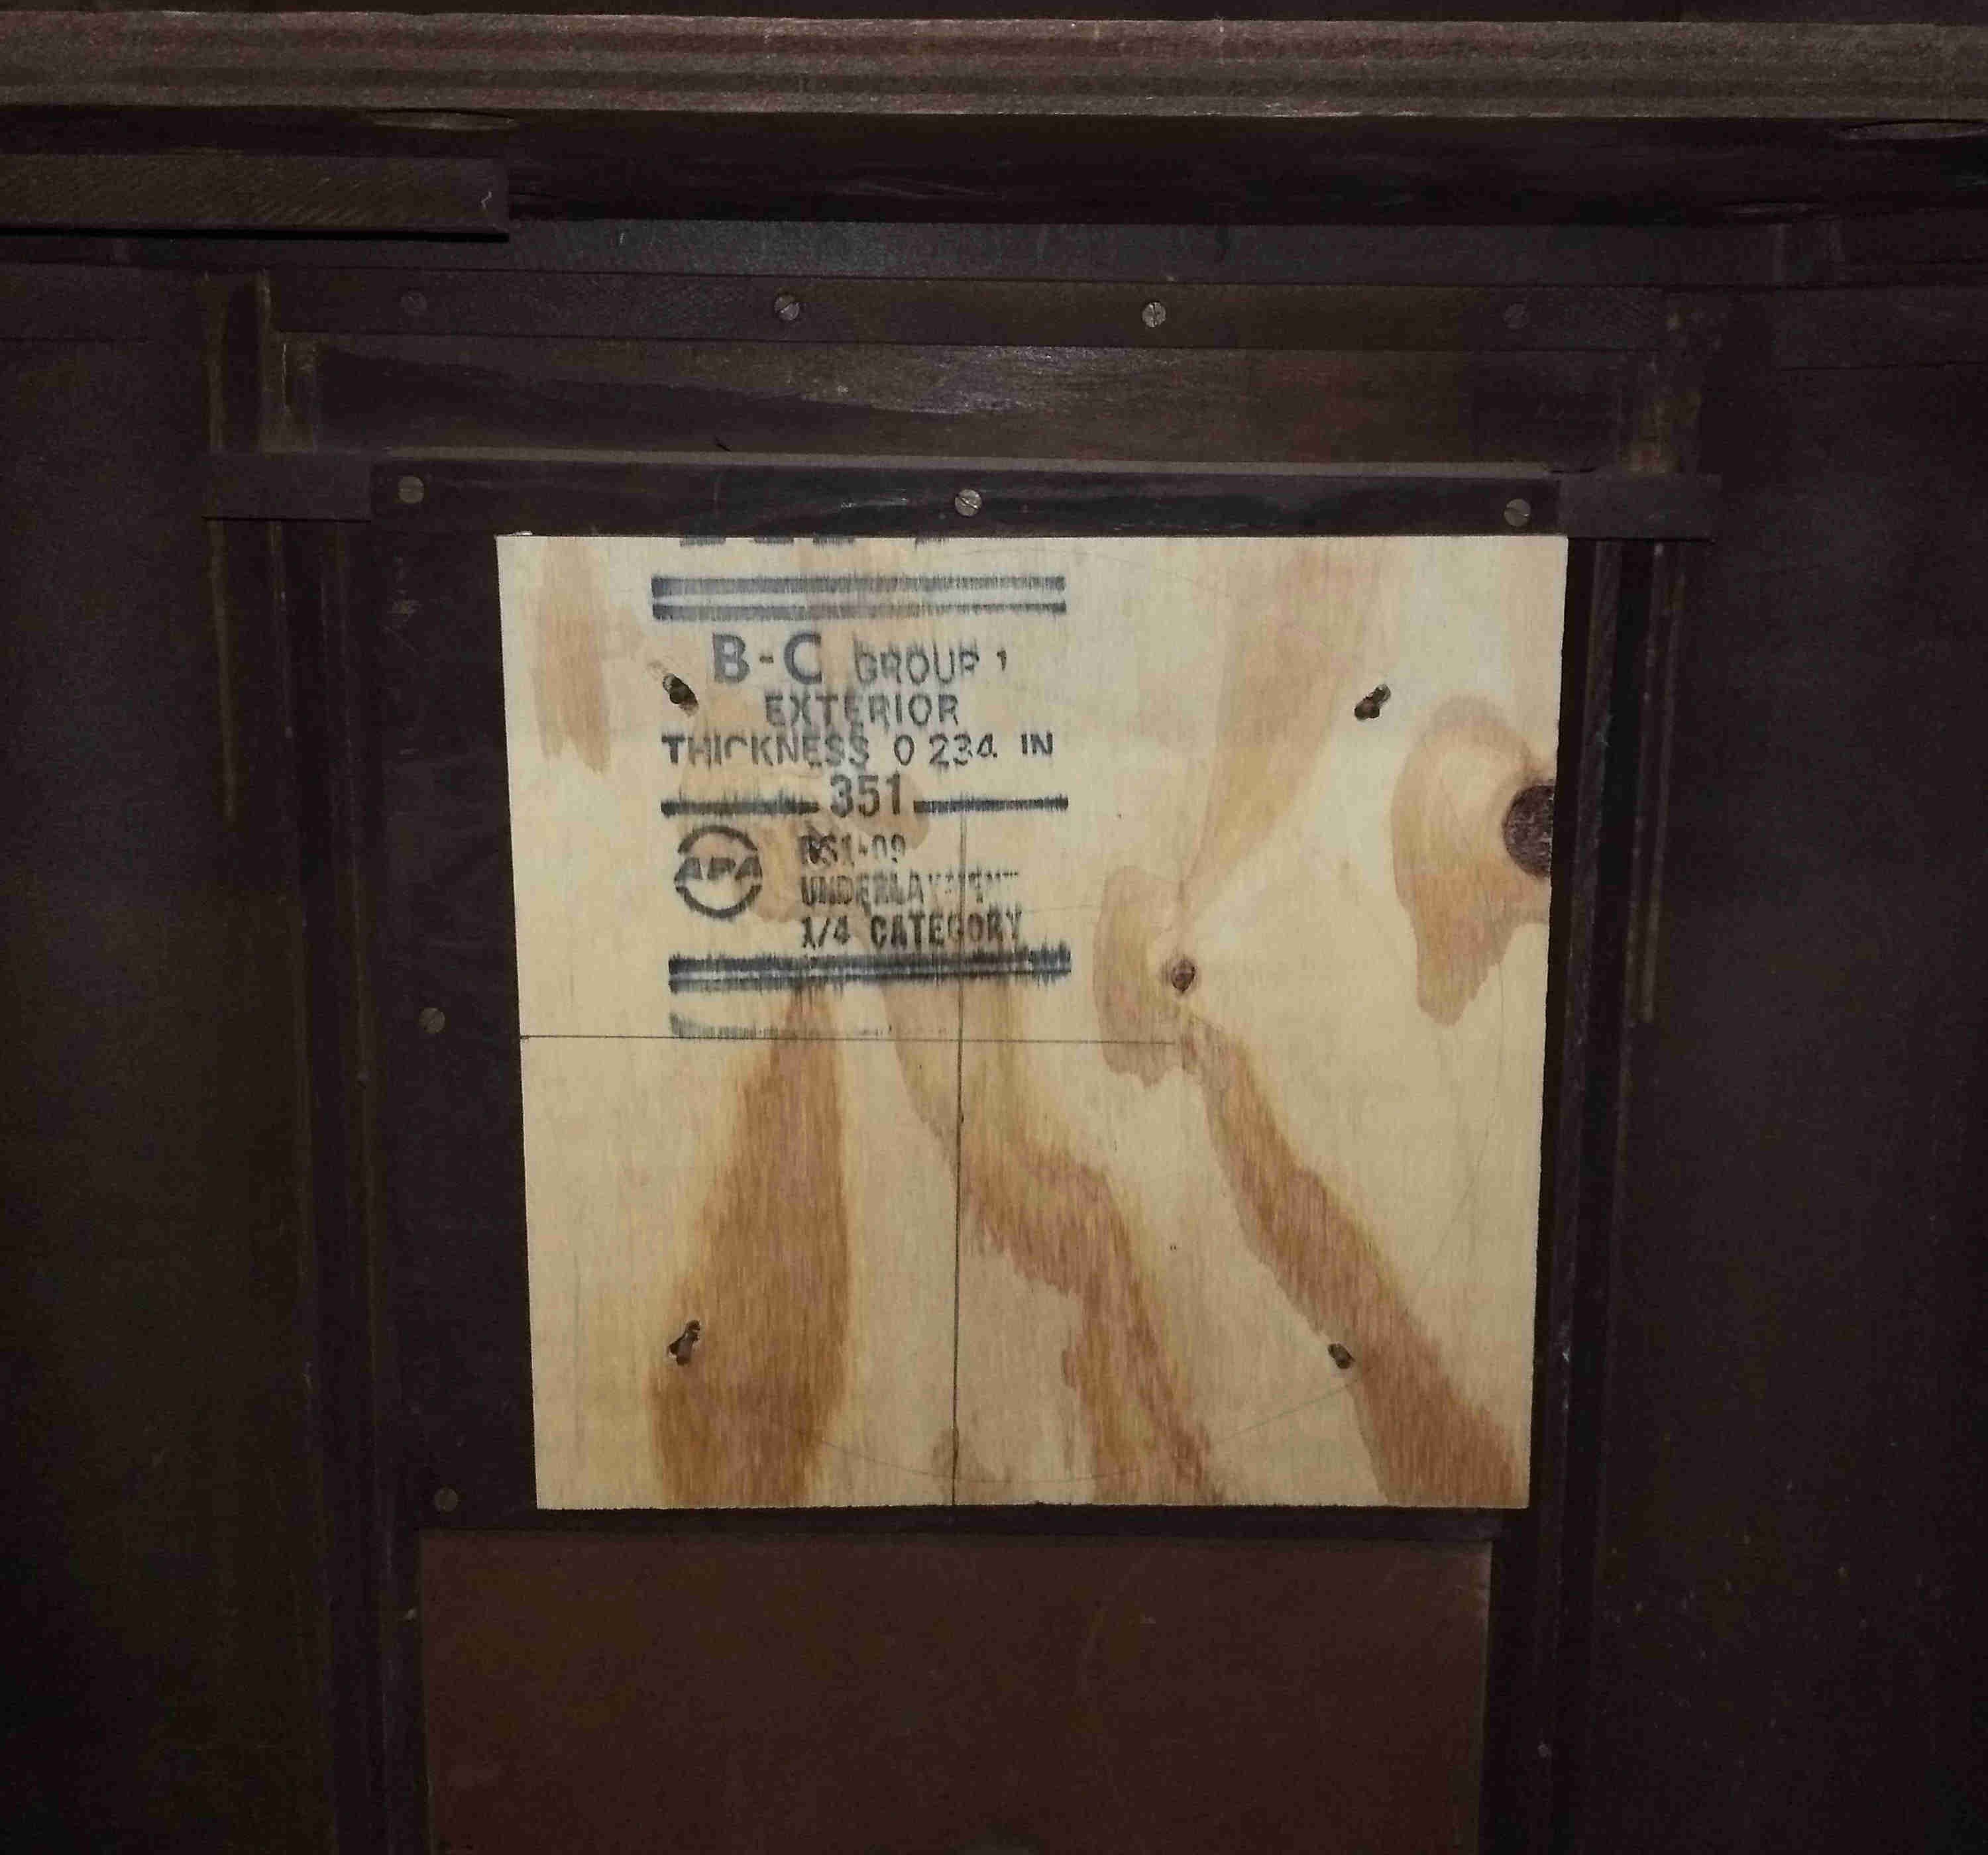
I then drilled mounting holes to match the oval ones on the old speaker. These greatly eased mounting the plywood in the cabinet because the existing posts were angled outward from the center of the speaker cutout.
I’m not sure why, but the old speaker was mounted off-center to the vertical bars on the front of the radio. I compensated for this by drawing guides on the plywood that were square and centered with respect to the piece of wood the old speaker was mounted on – not the hole left by the old speaker. This also compensated for the misalignment of the mounting holes on the plywood (I should have tried harder to align the old speaker before tracing it).
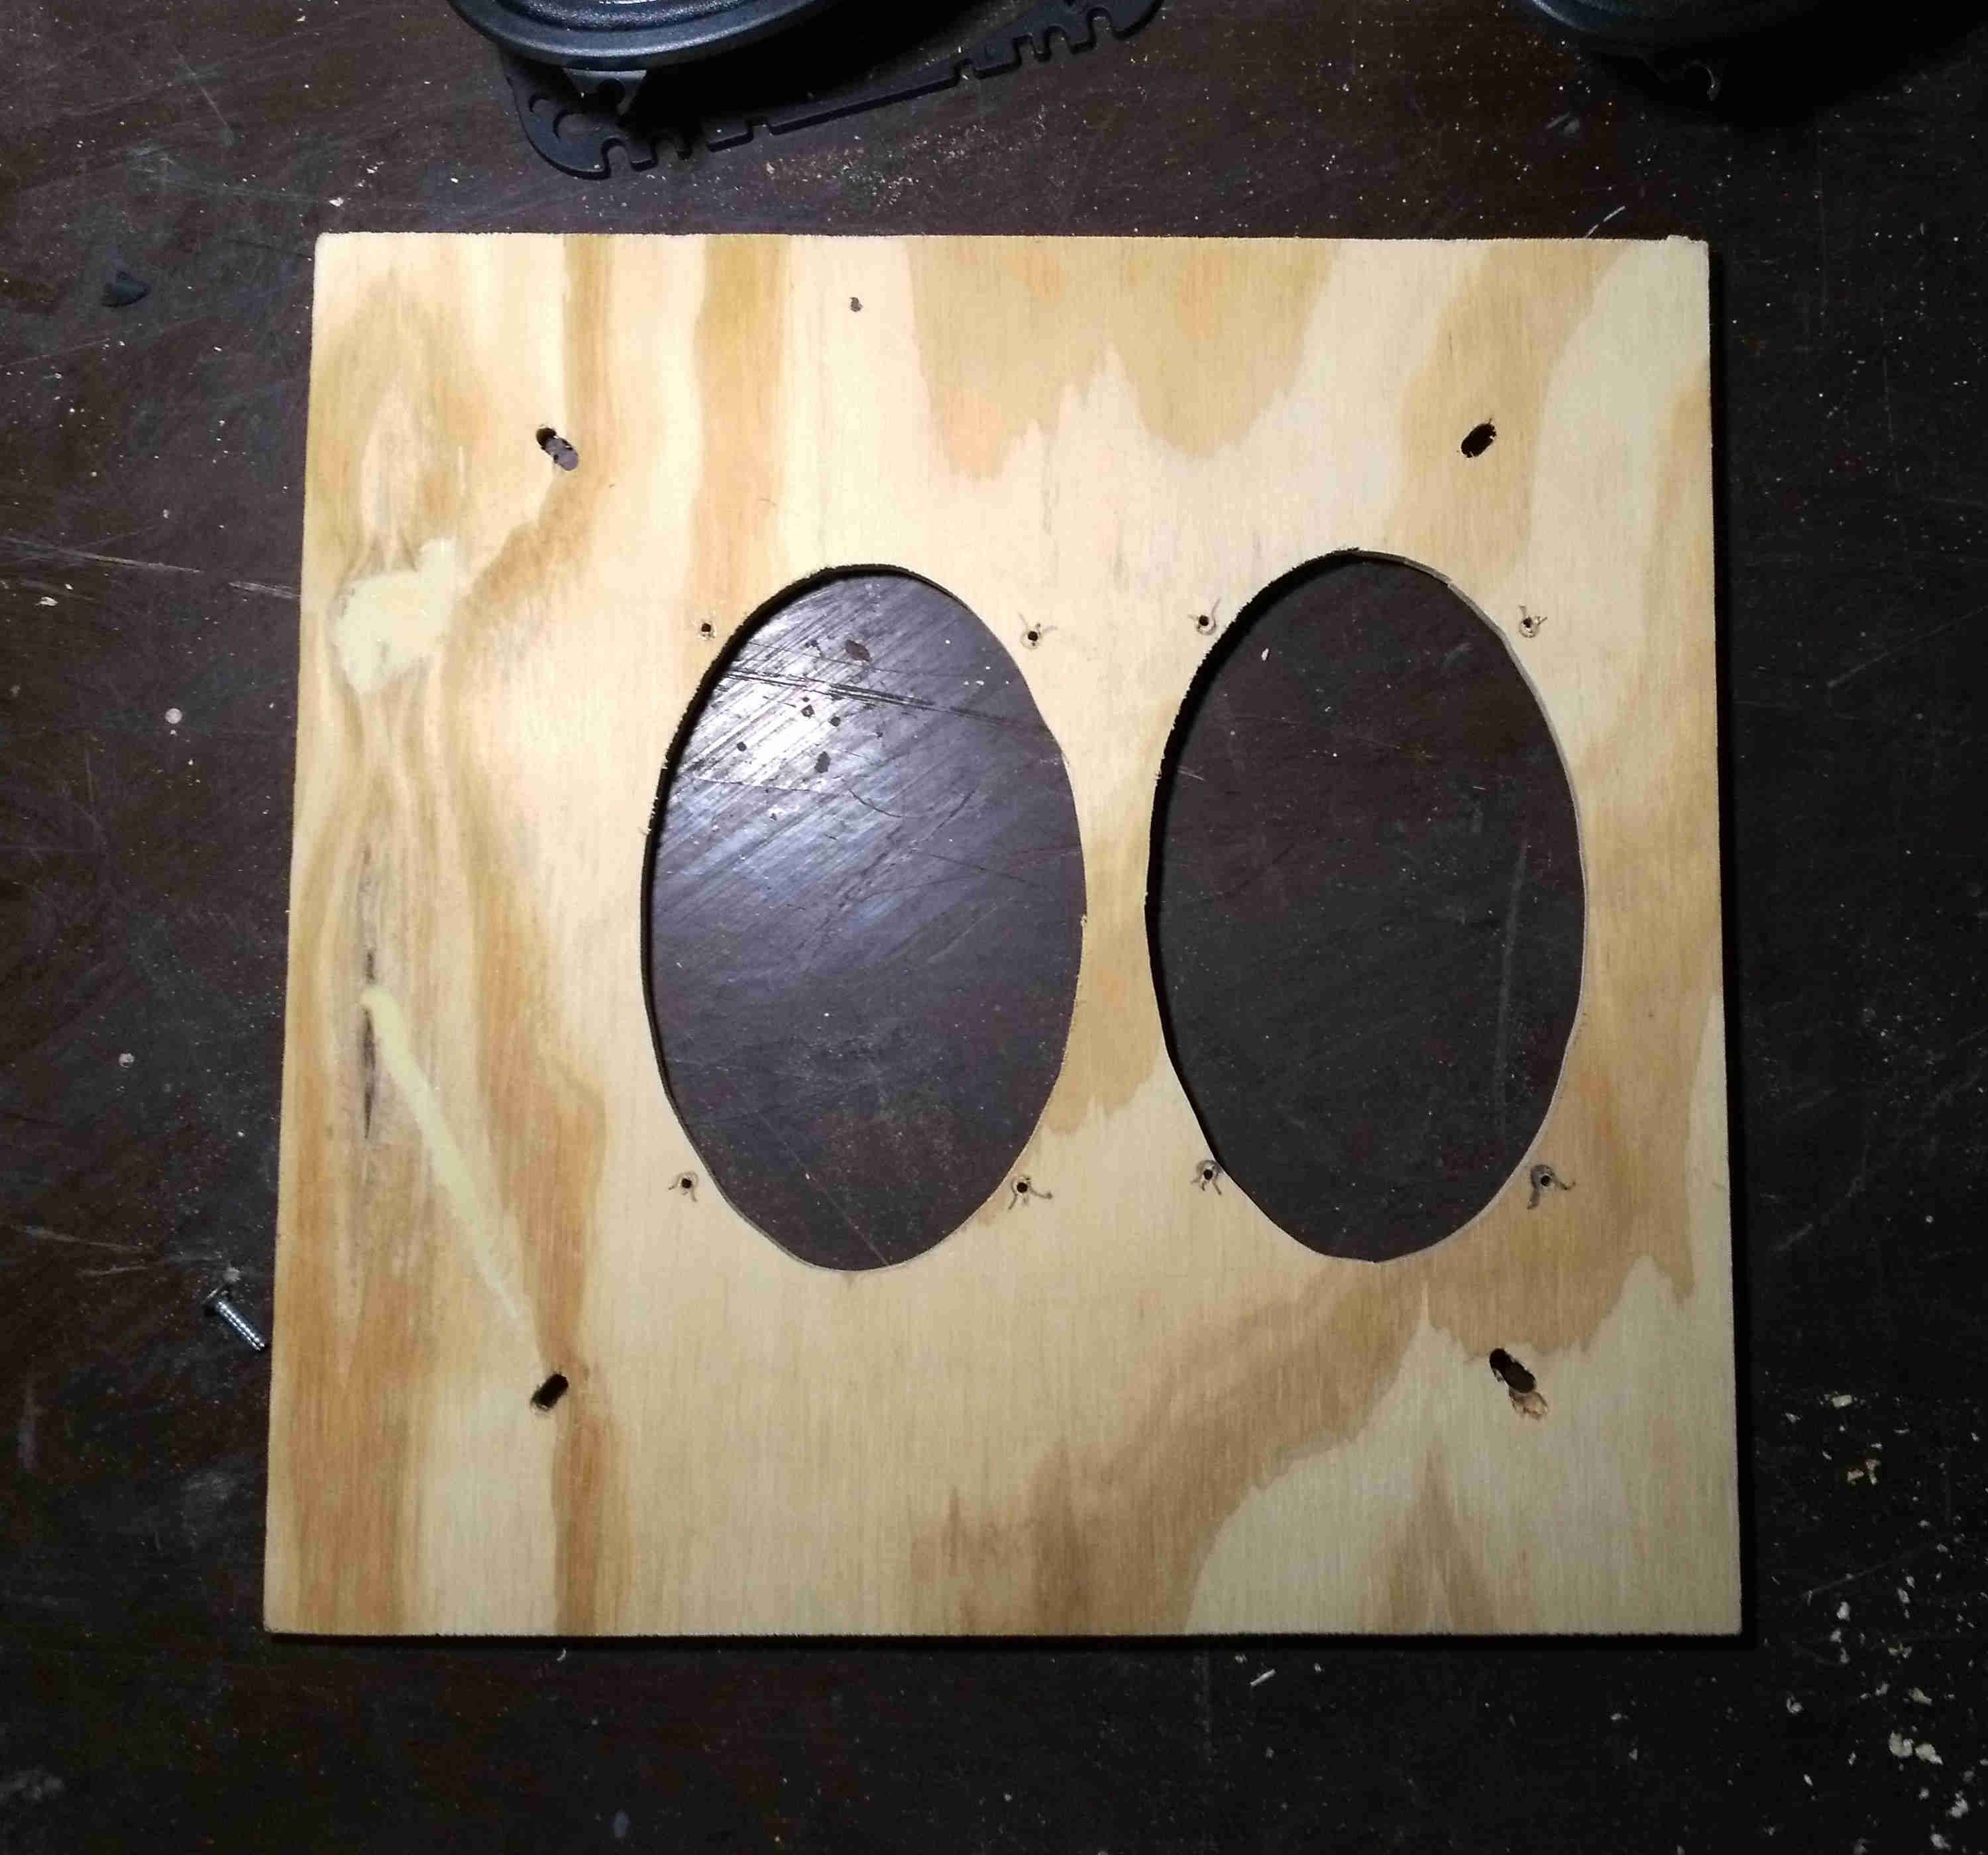
The car speakers came with mounting brackets that made great guides for cutting holes in the plywood.
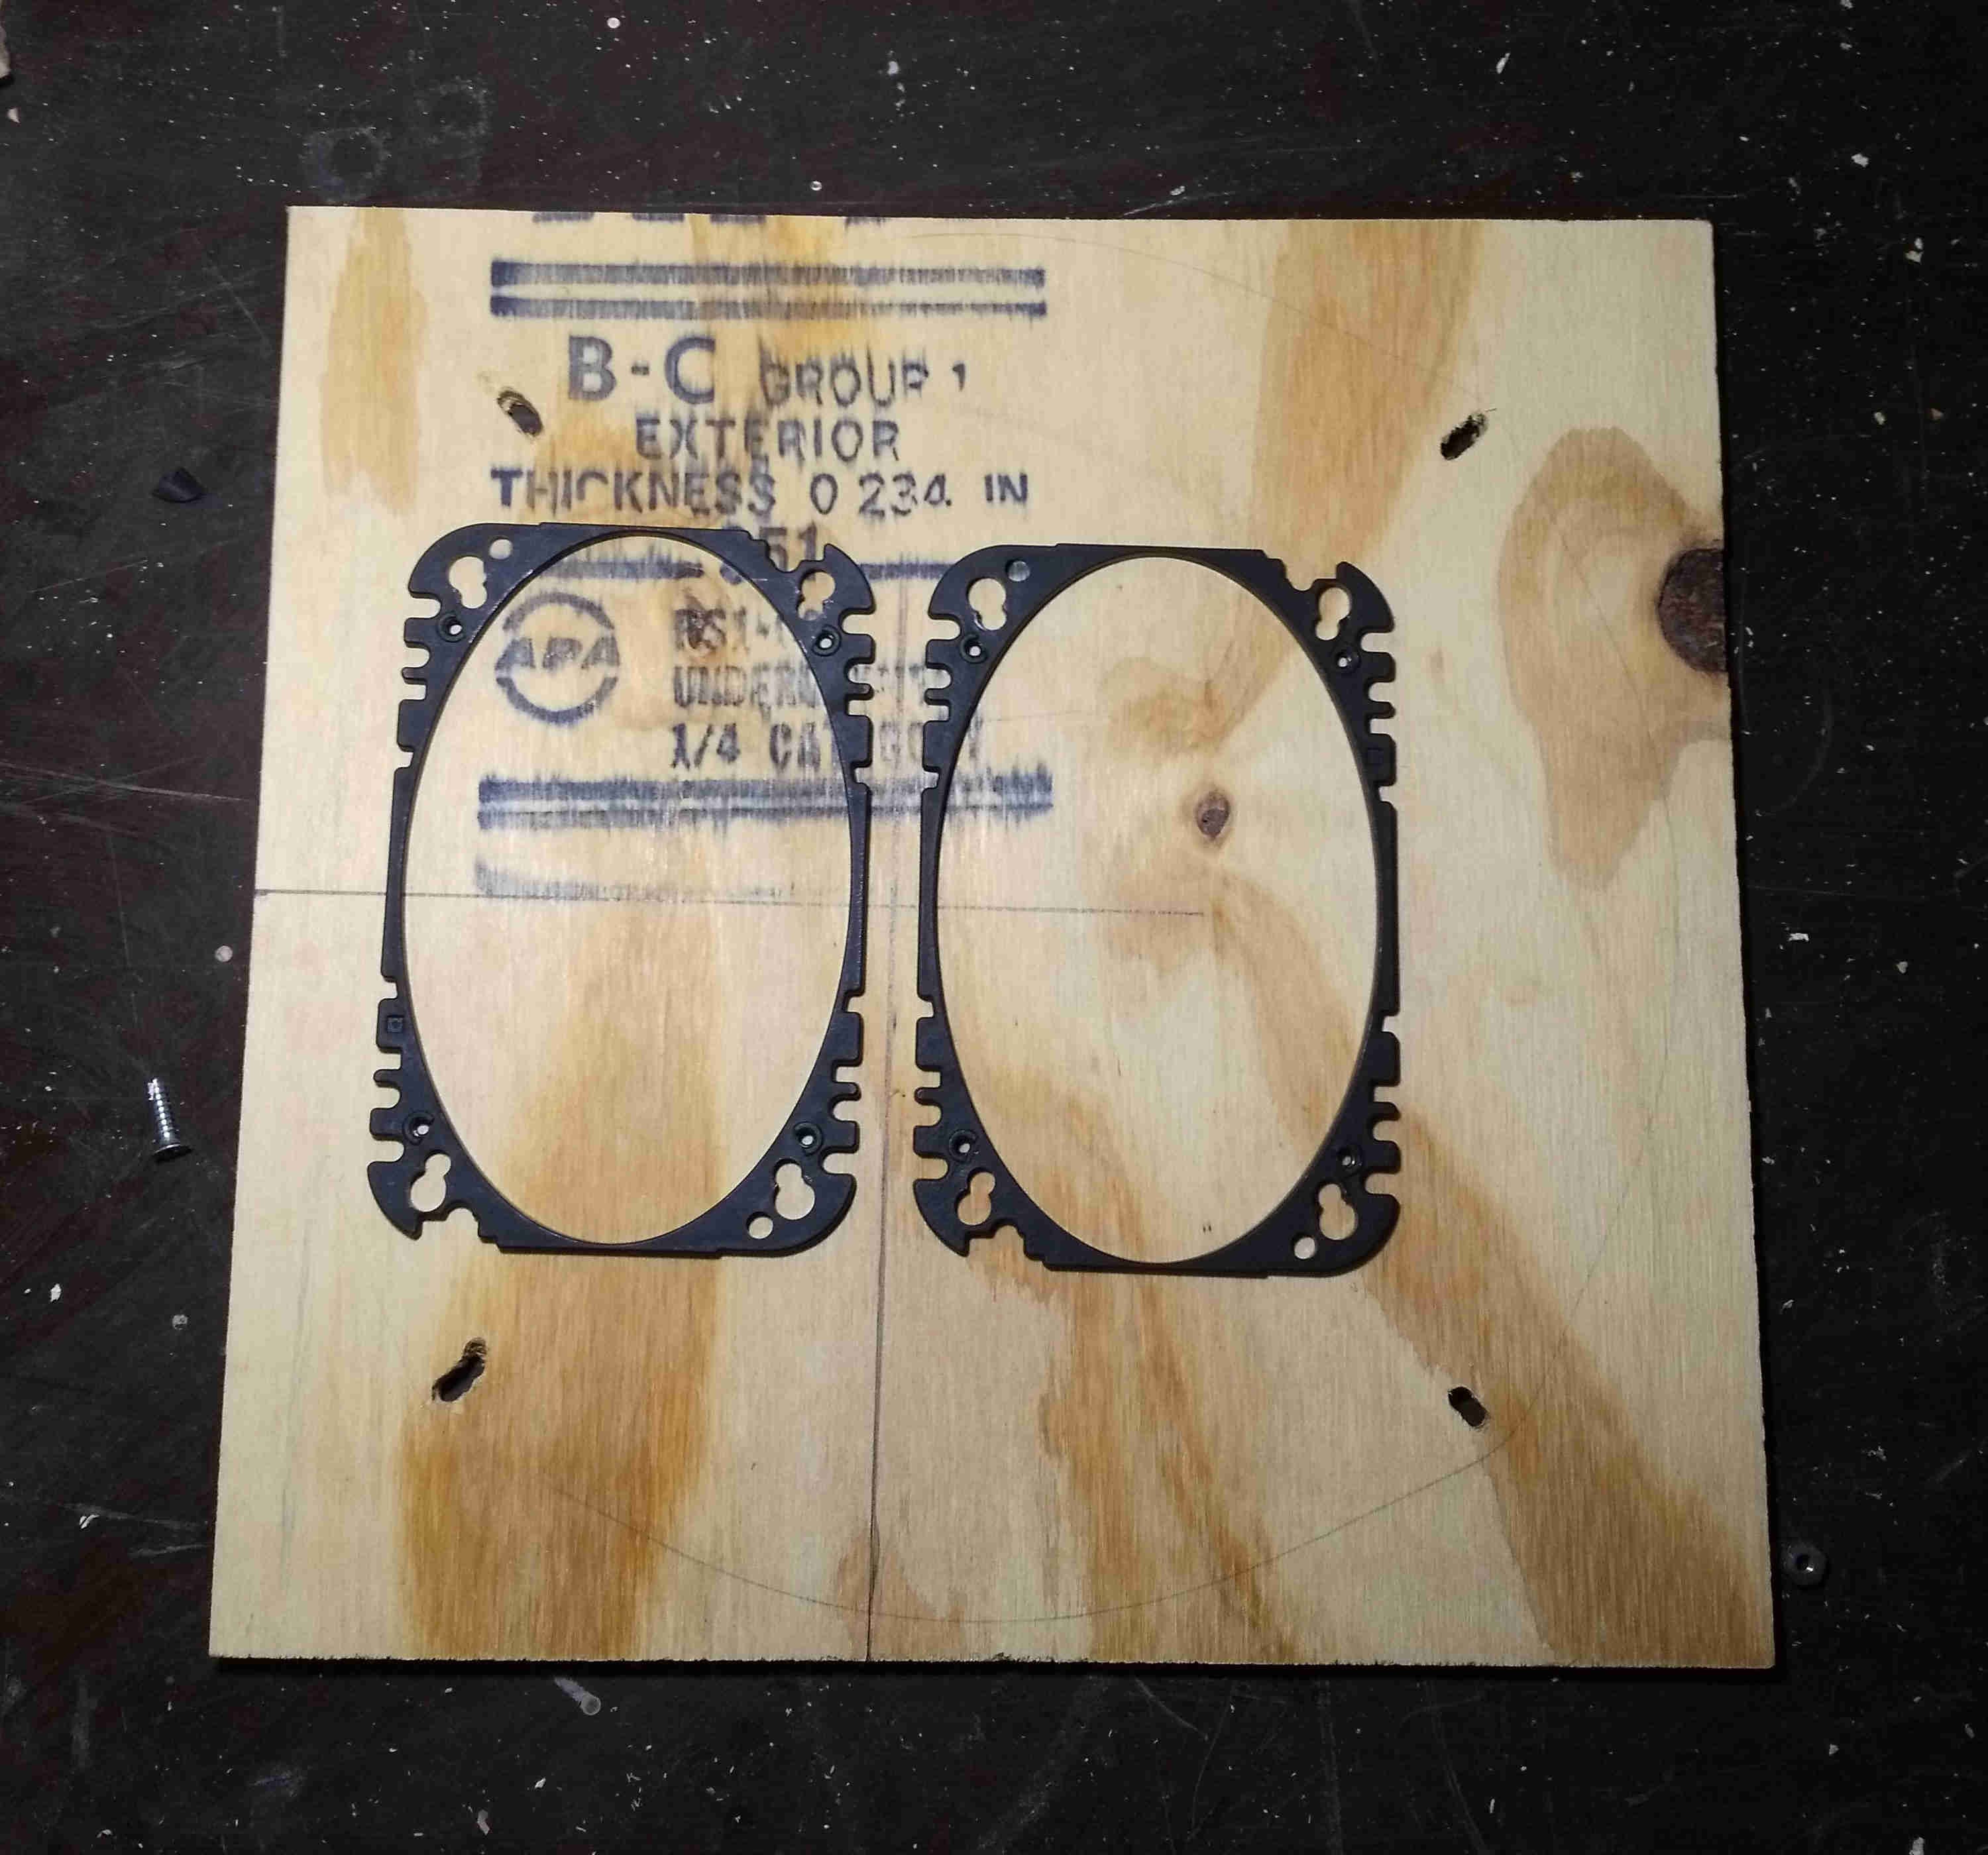
I used a band saw to cut holes to mount the new speakers. These holes were slightly larger than the ones in the plastic brackets
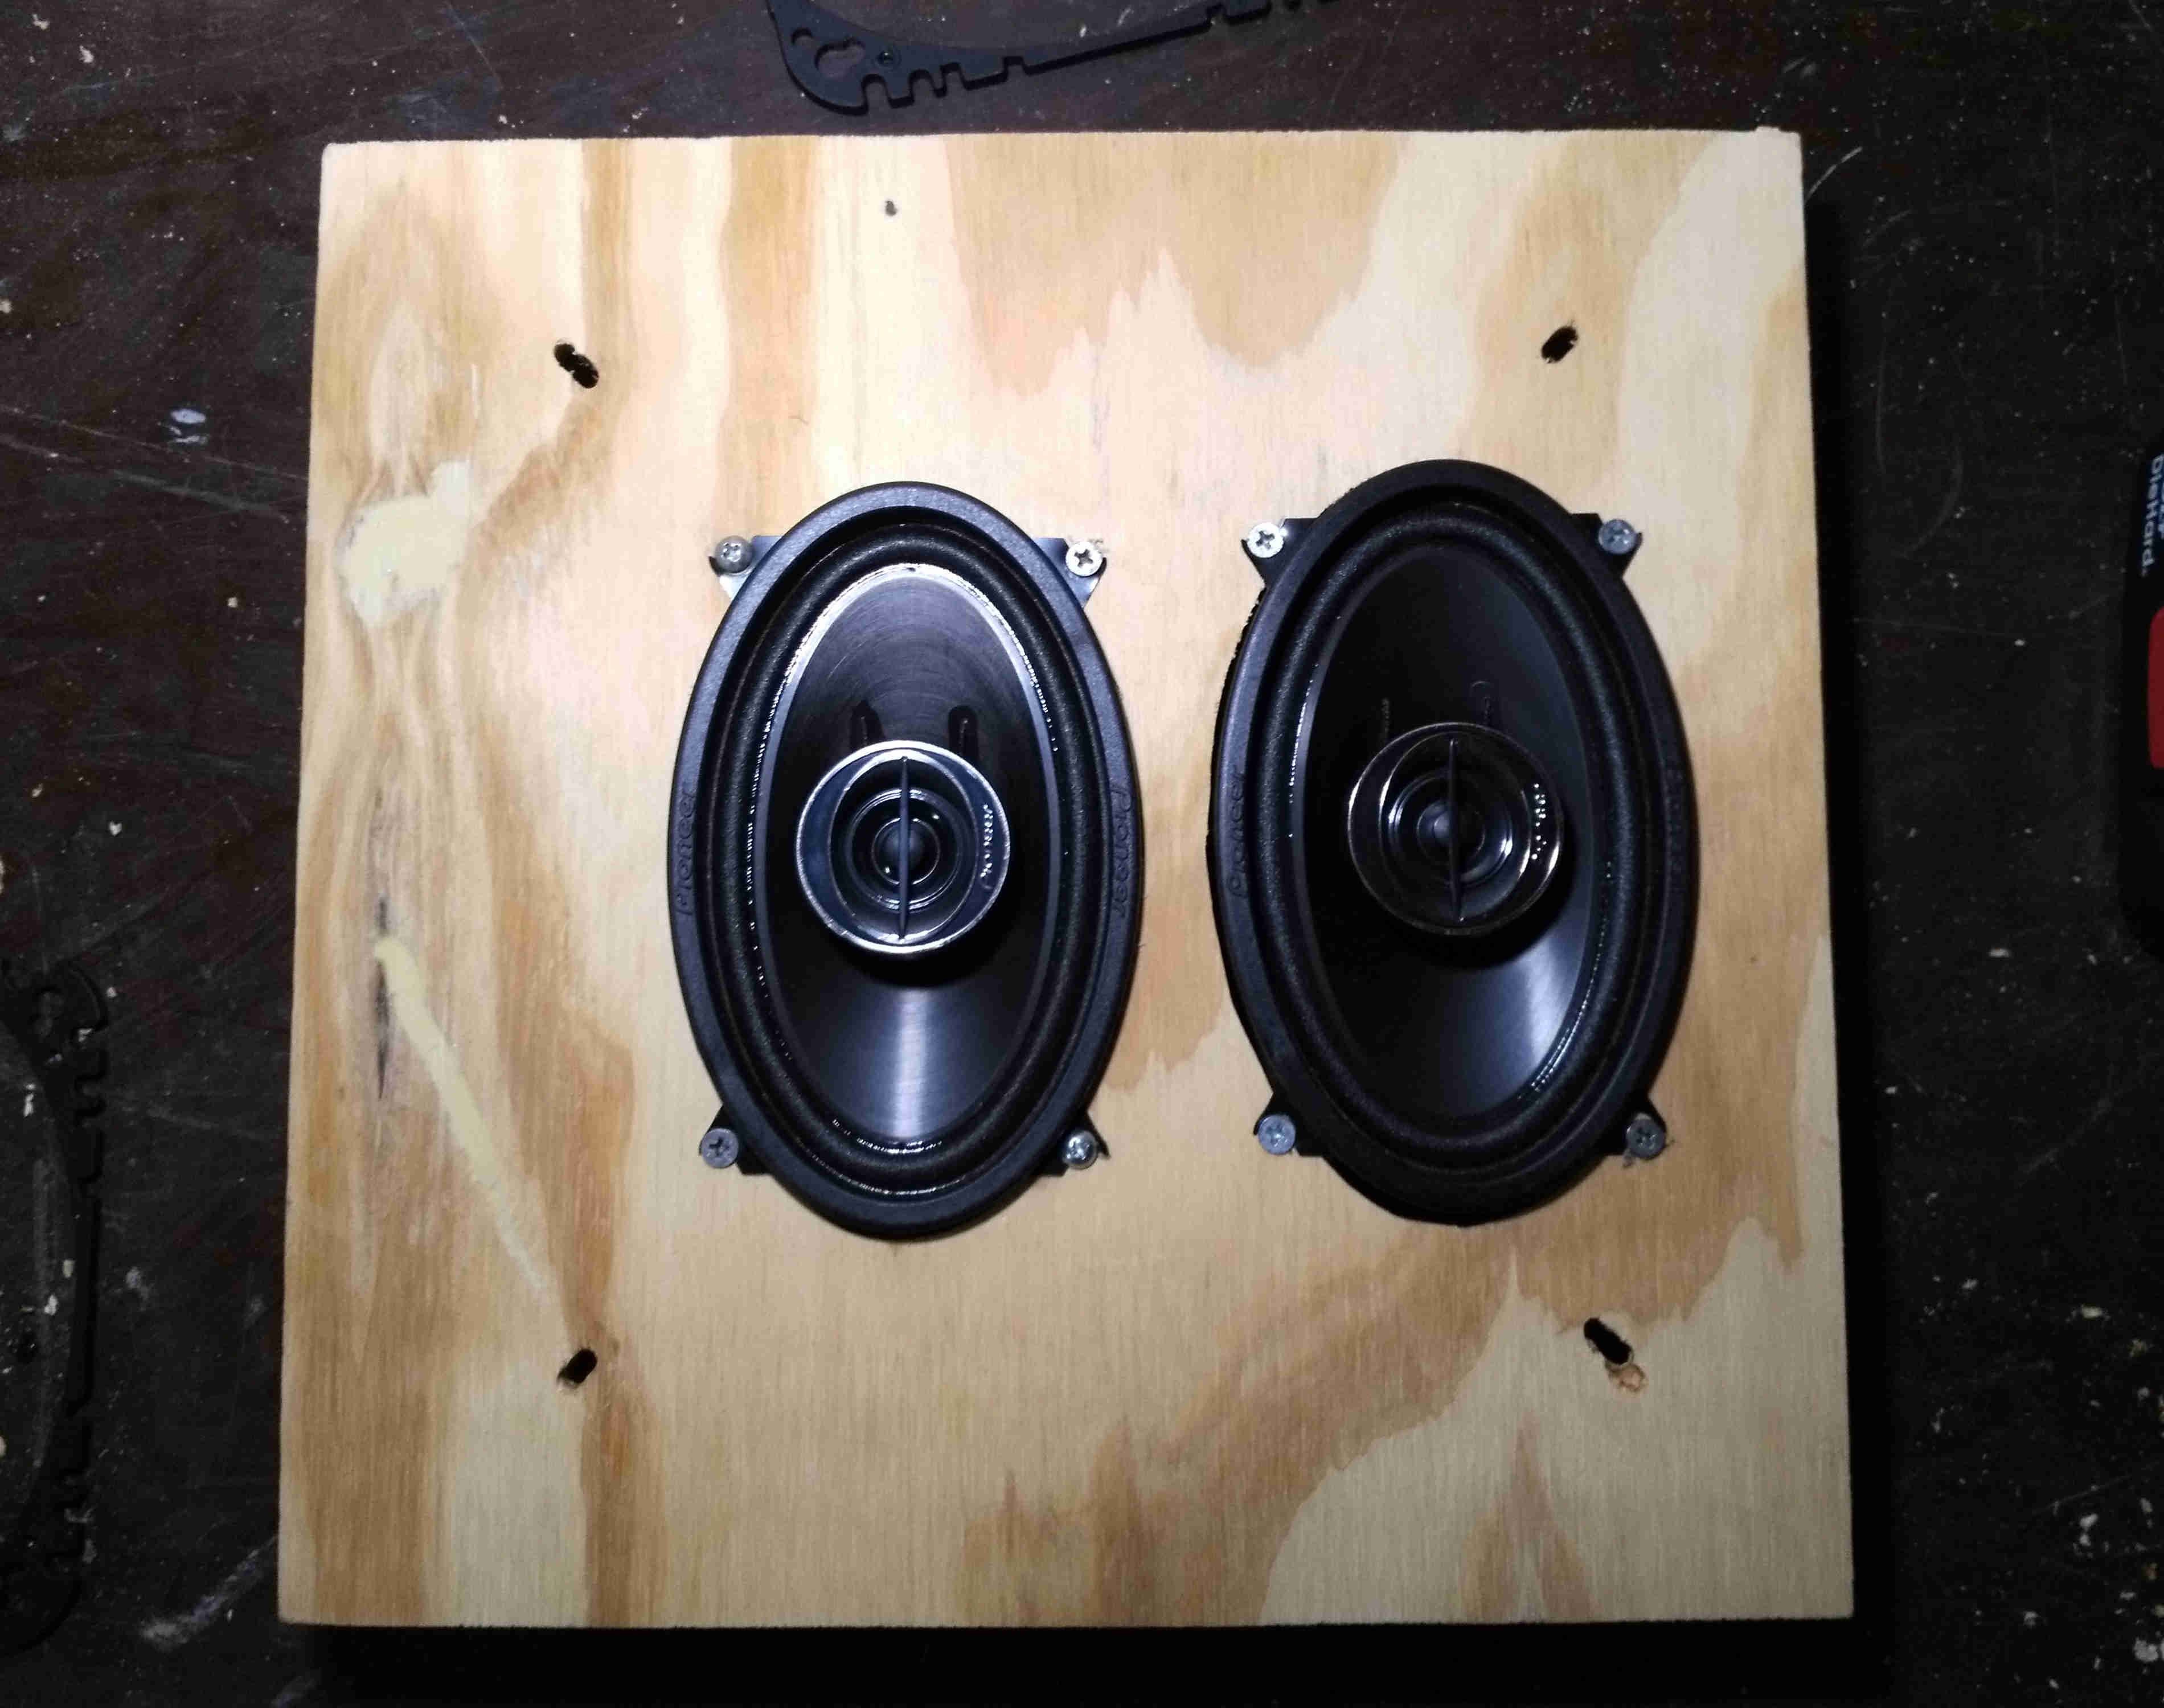
Here are the speakers mounted in the plywood adapter. I used screws from a recent microwave oven tear-down to secure them in place.
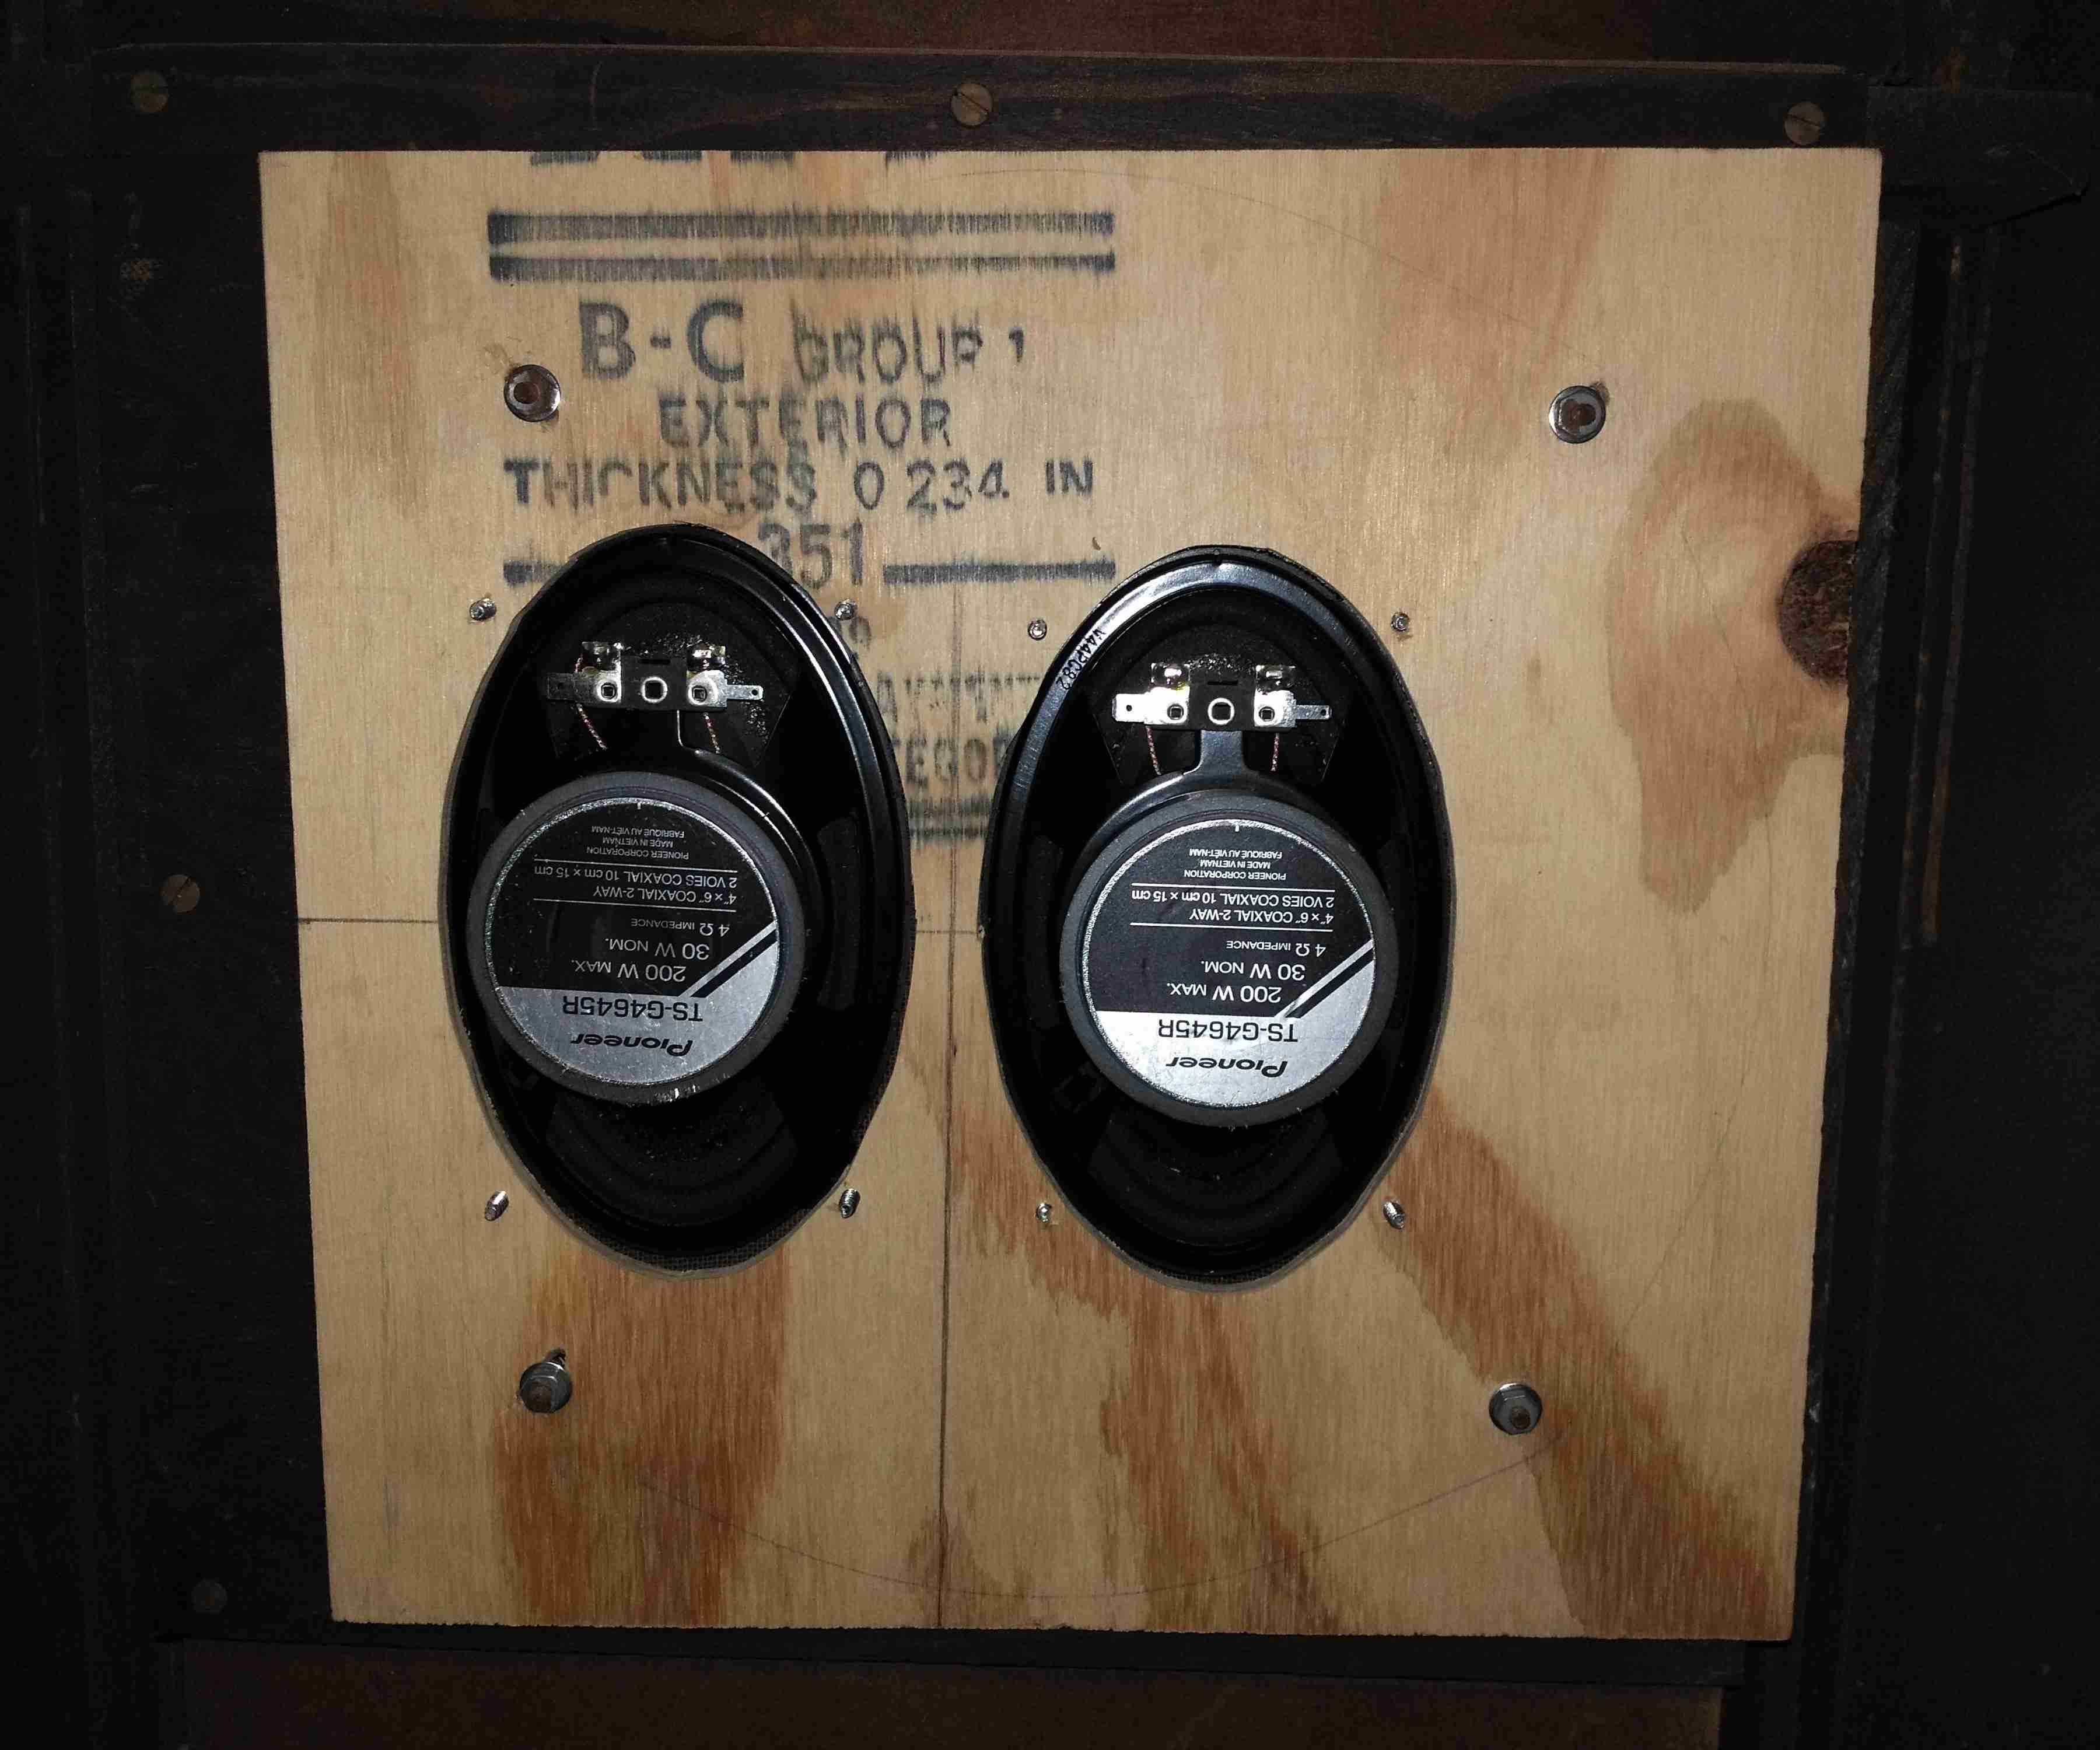
I picked up some rubber washers to install between the plywood and wood of the cabinet to prevent vibration noise.

I re-used the original nuts with some new washers to secure the plywood on the posts in the cabinet.
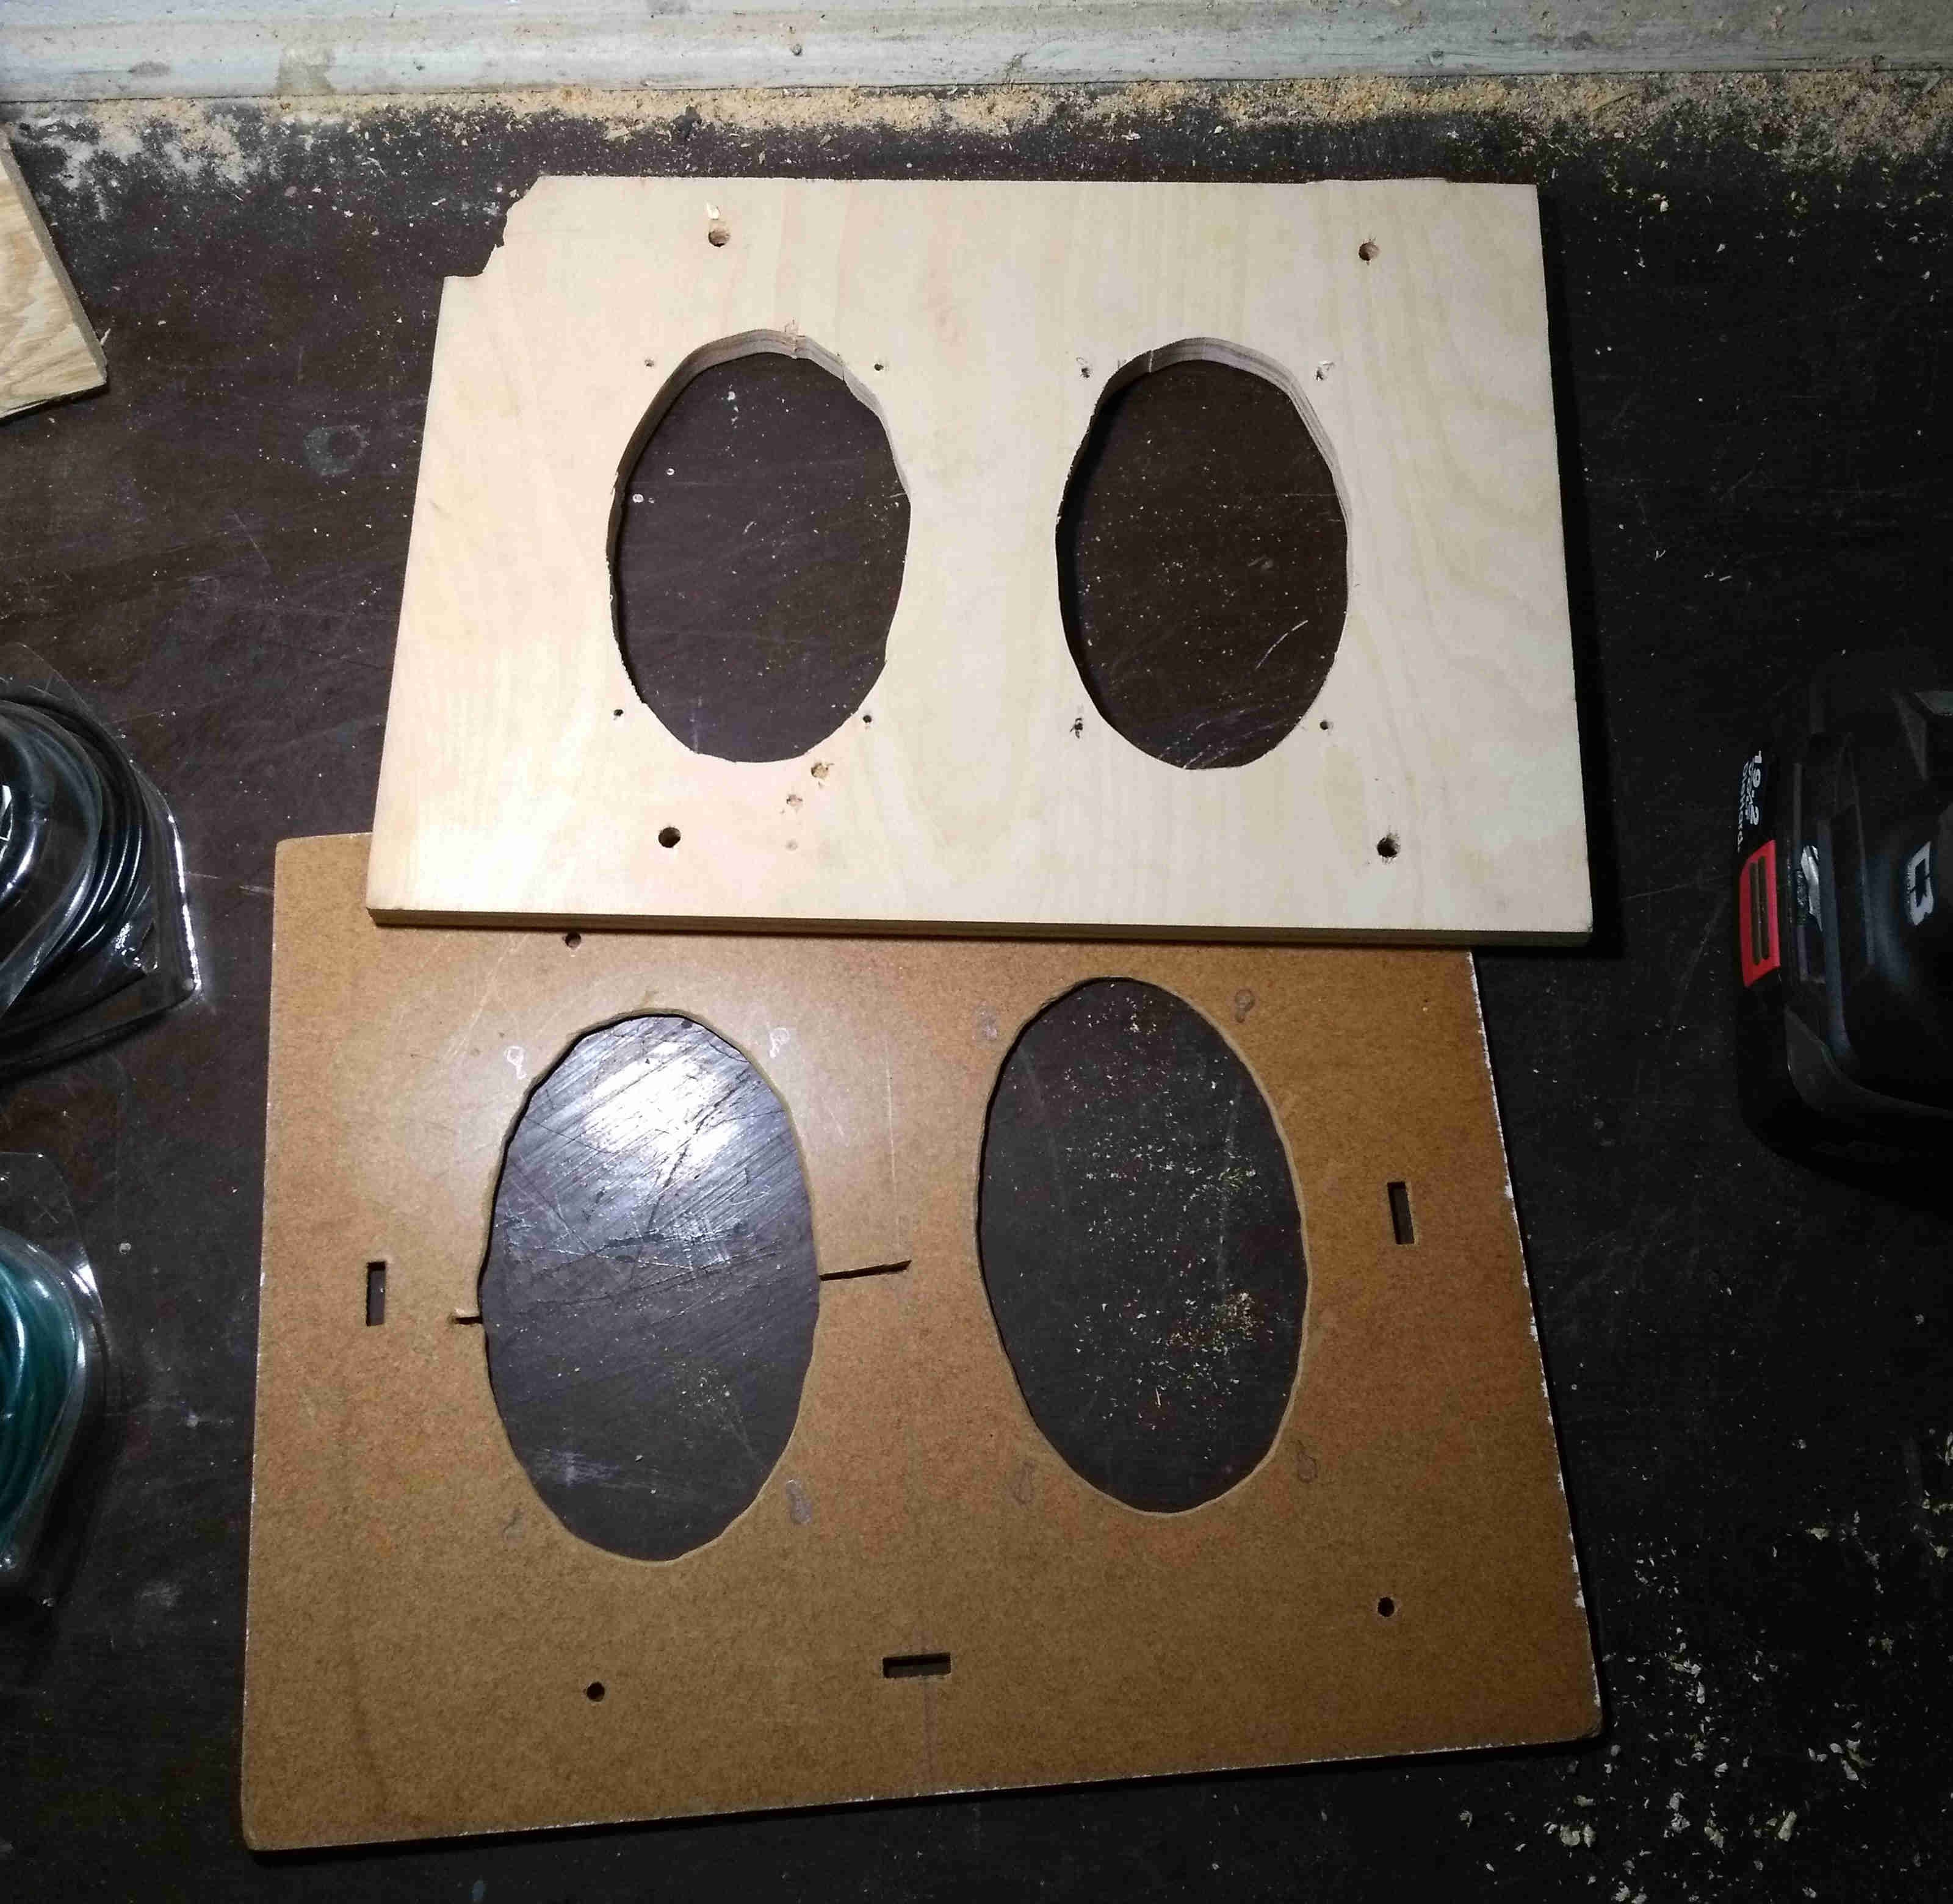
Admittedly this isn’t the first hack at making an adapter for these speakers. Two previous incarnations had various flaws that prevented them from being used. I used the top (attempted) adapter as scrap wood to mount the AC power inlet in the cabinet.
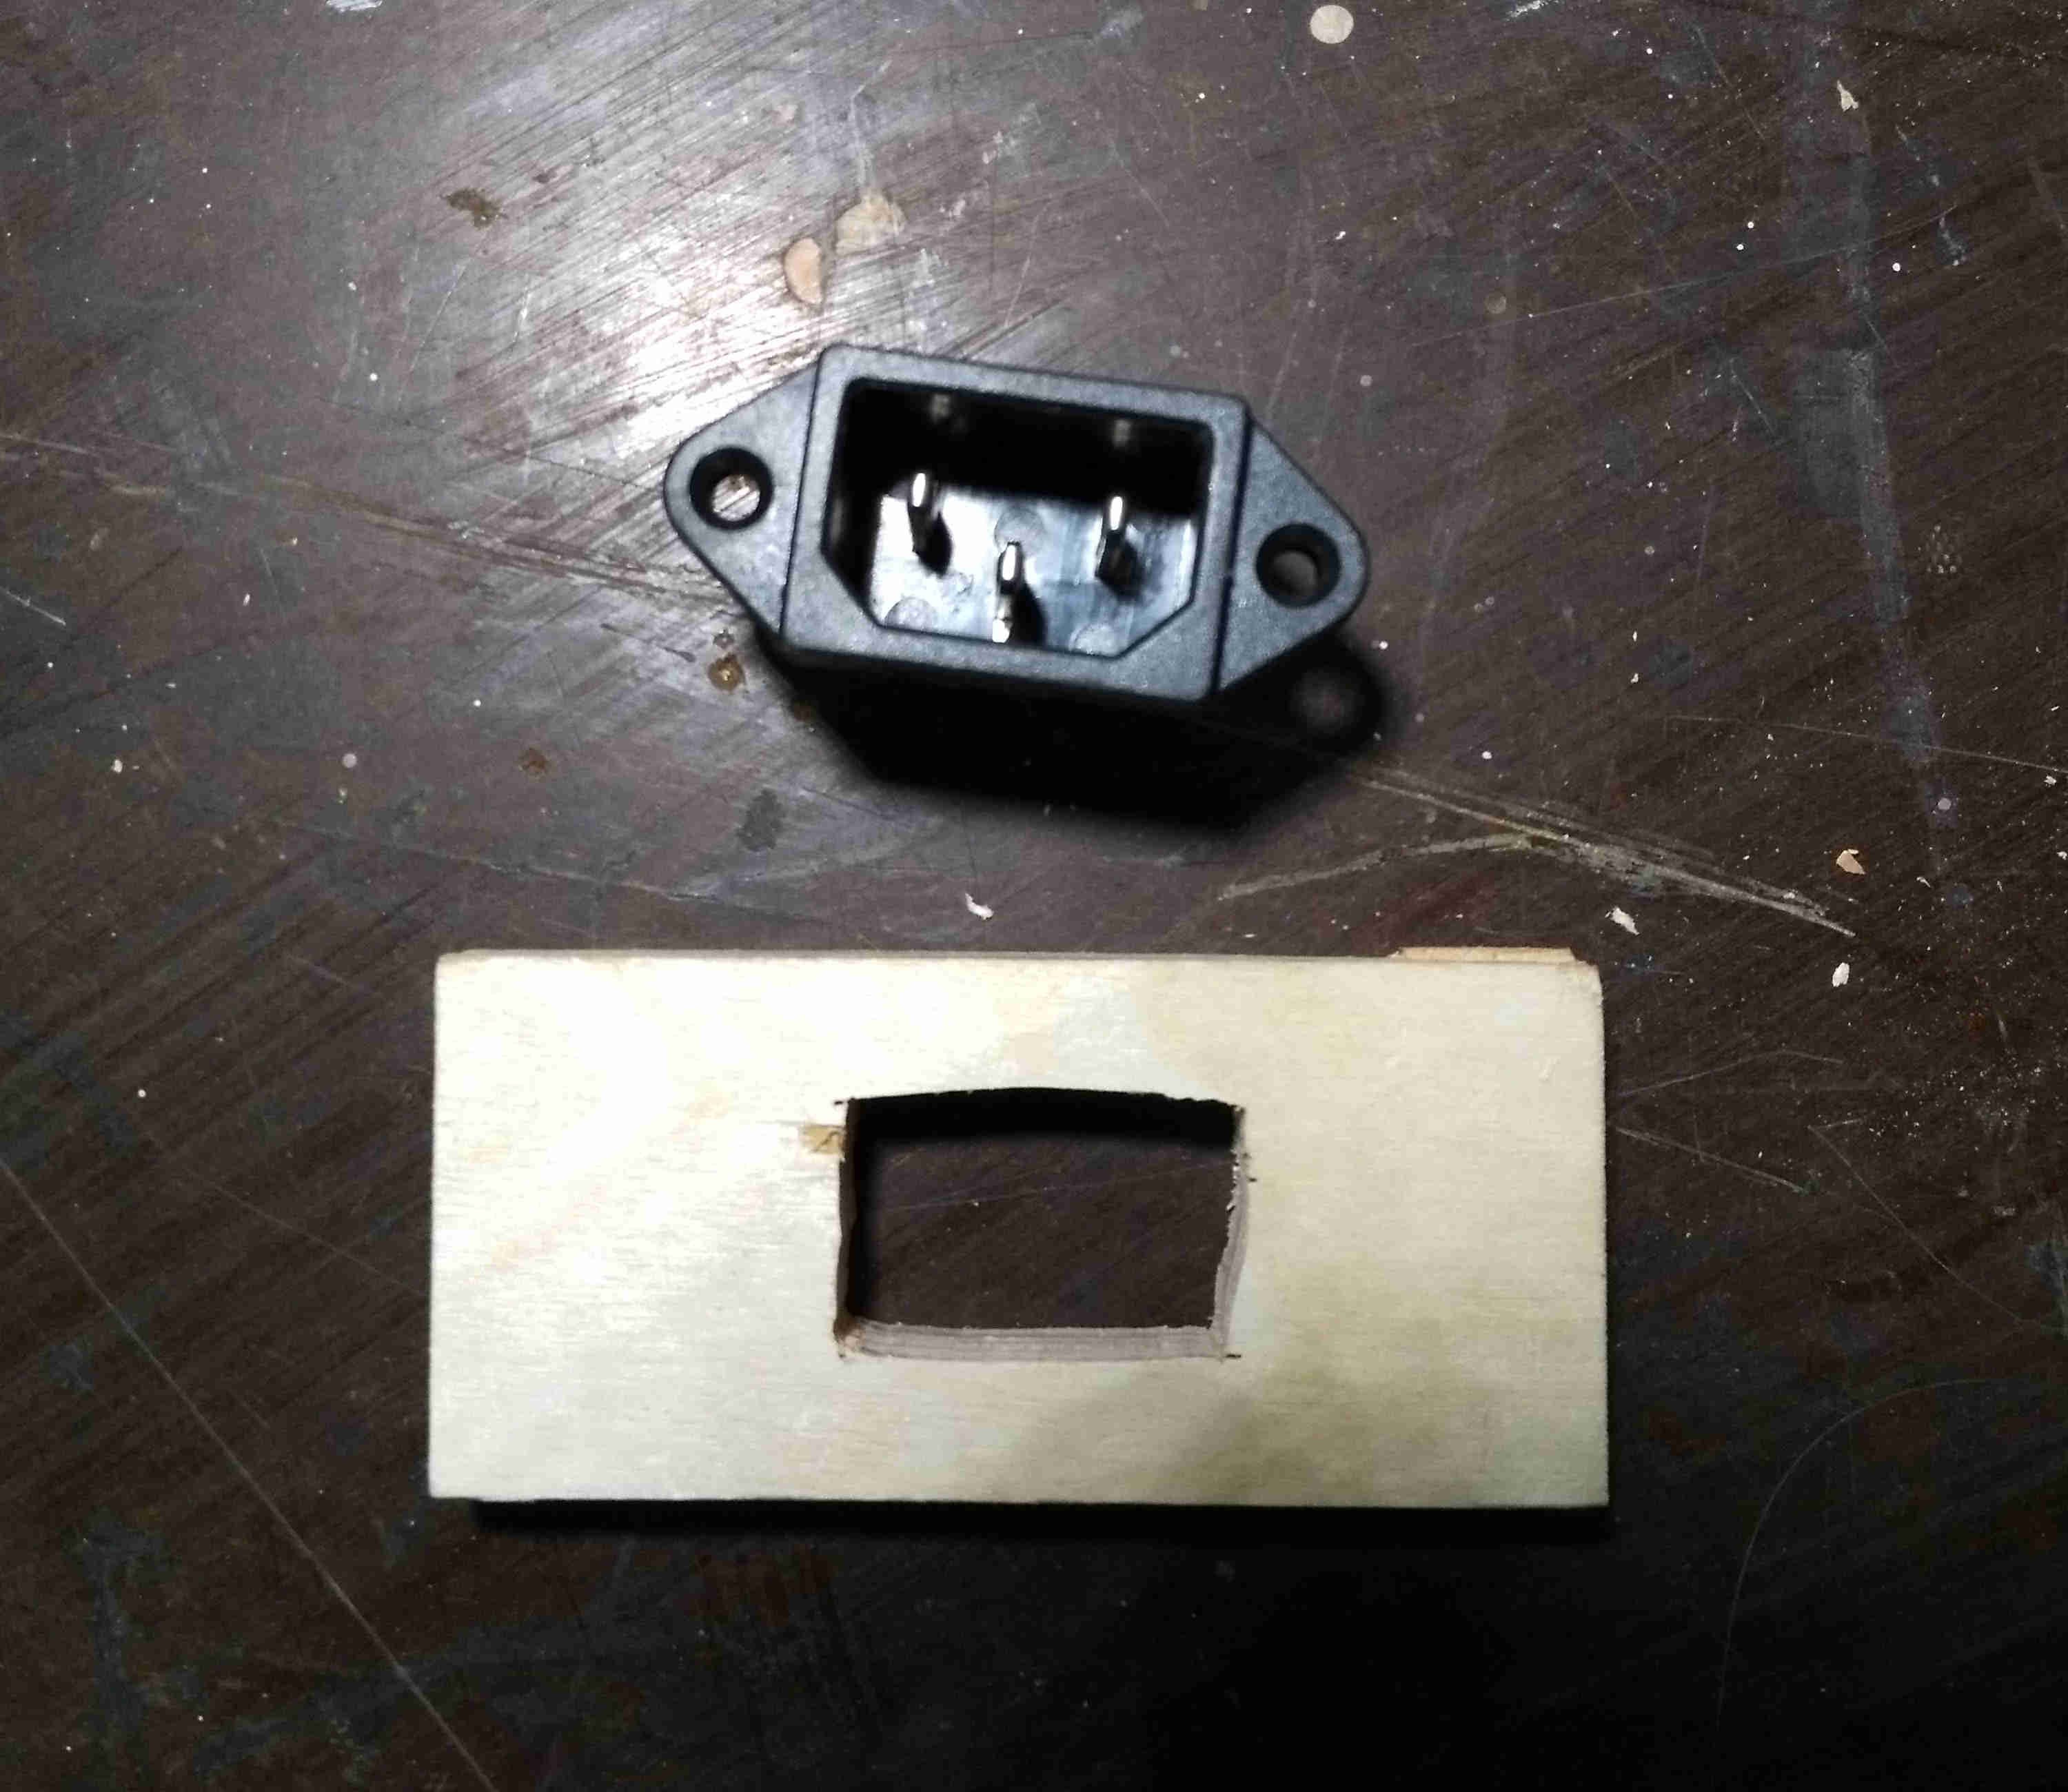
I cut a small piece off of this scrap to hold the AC inlet. I used a band saw to cut the hole in the middle.
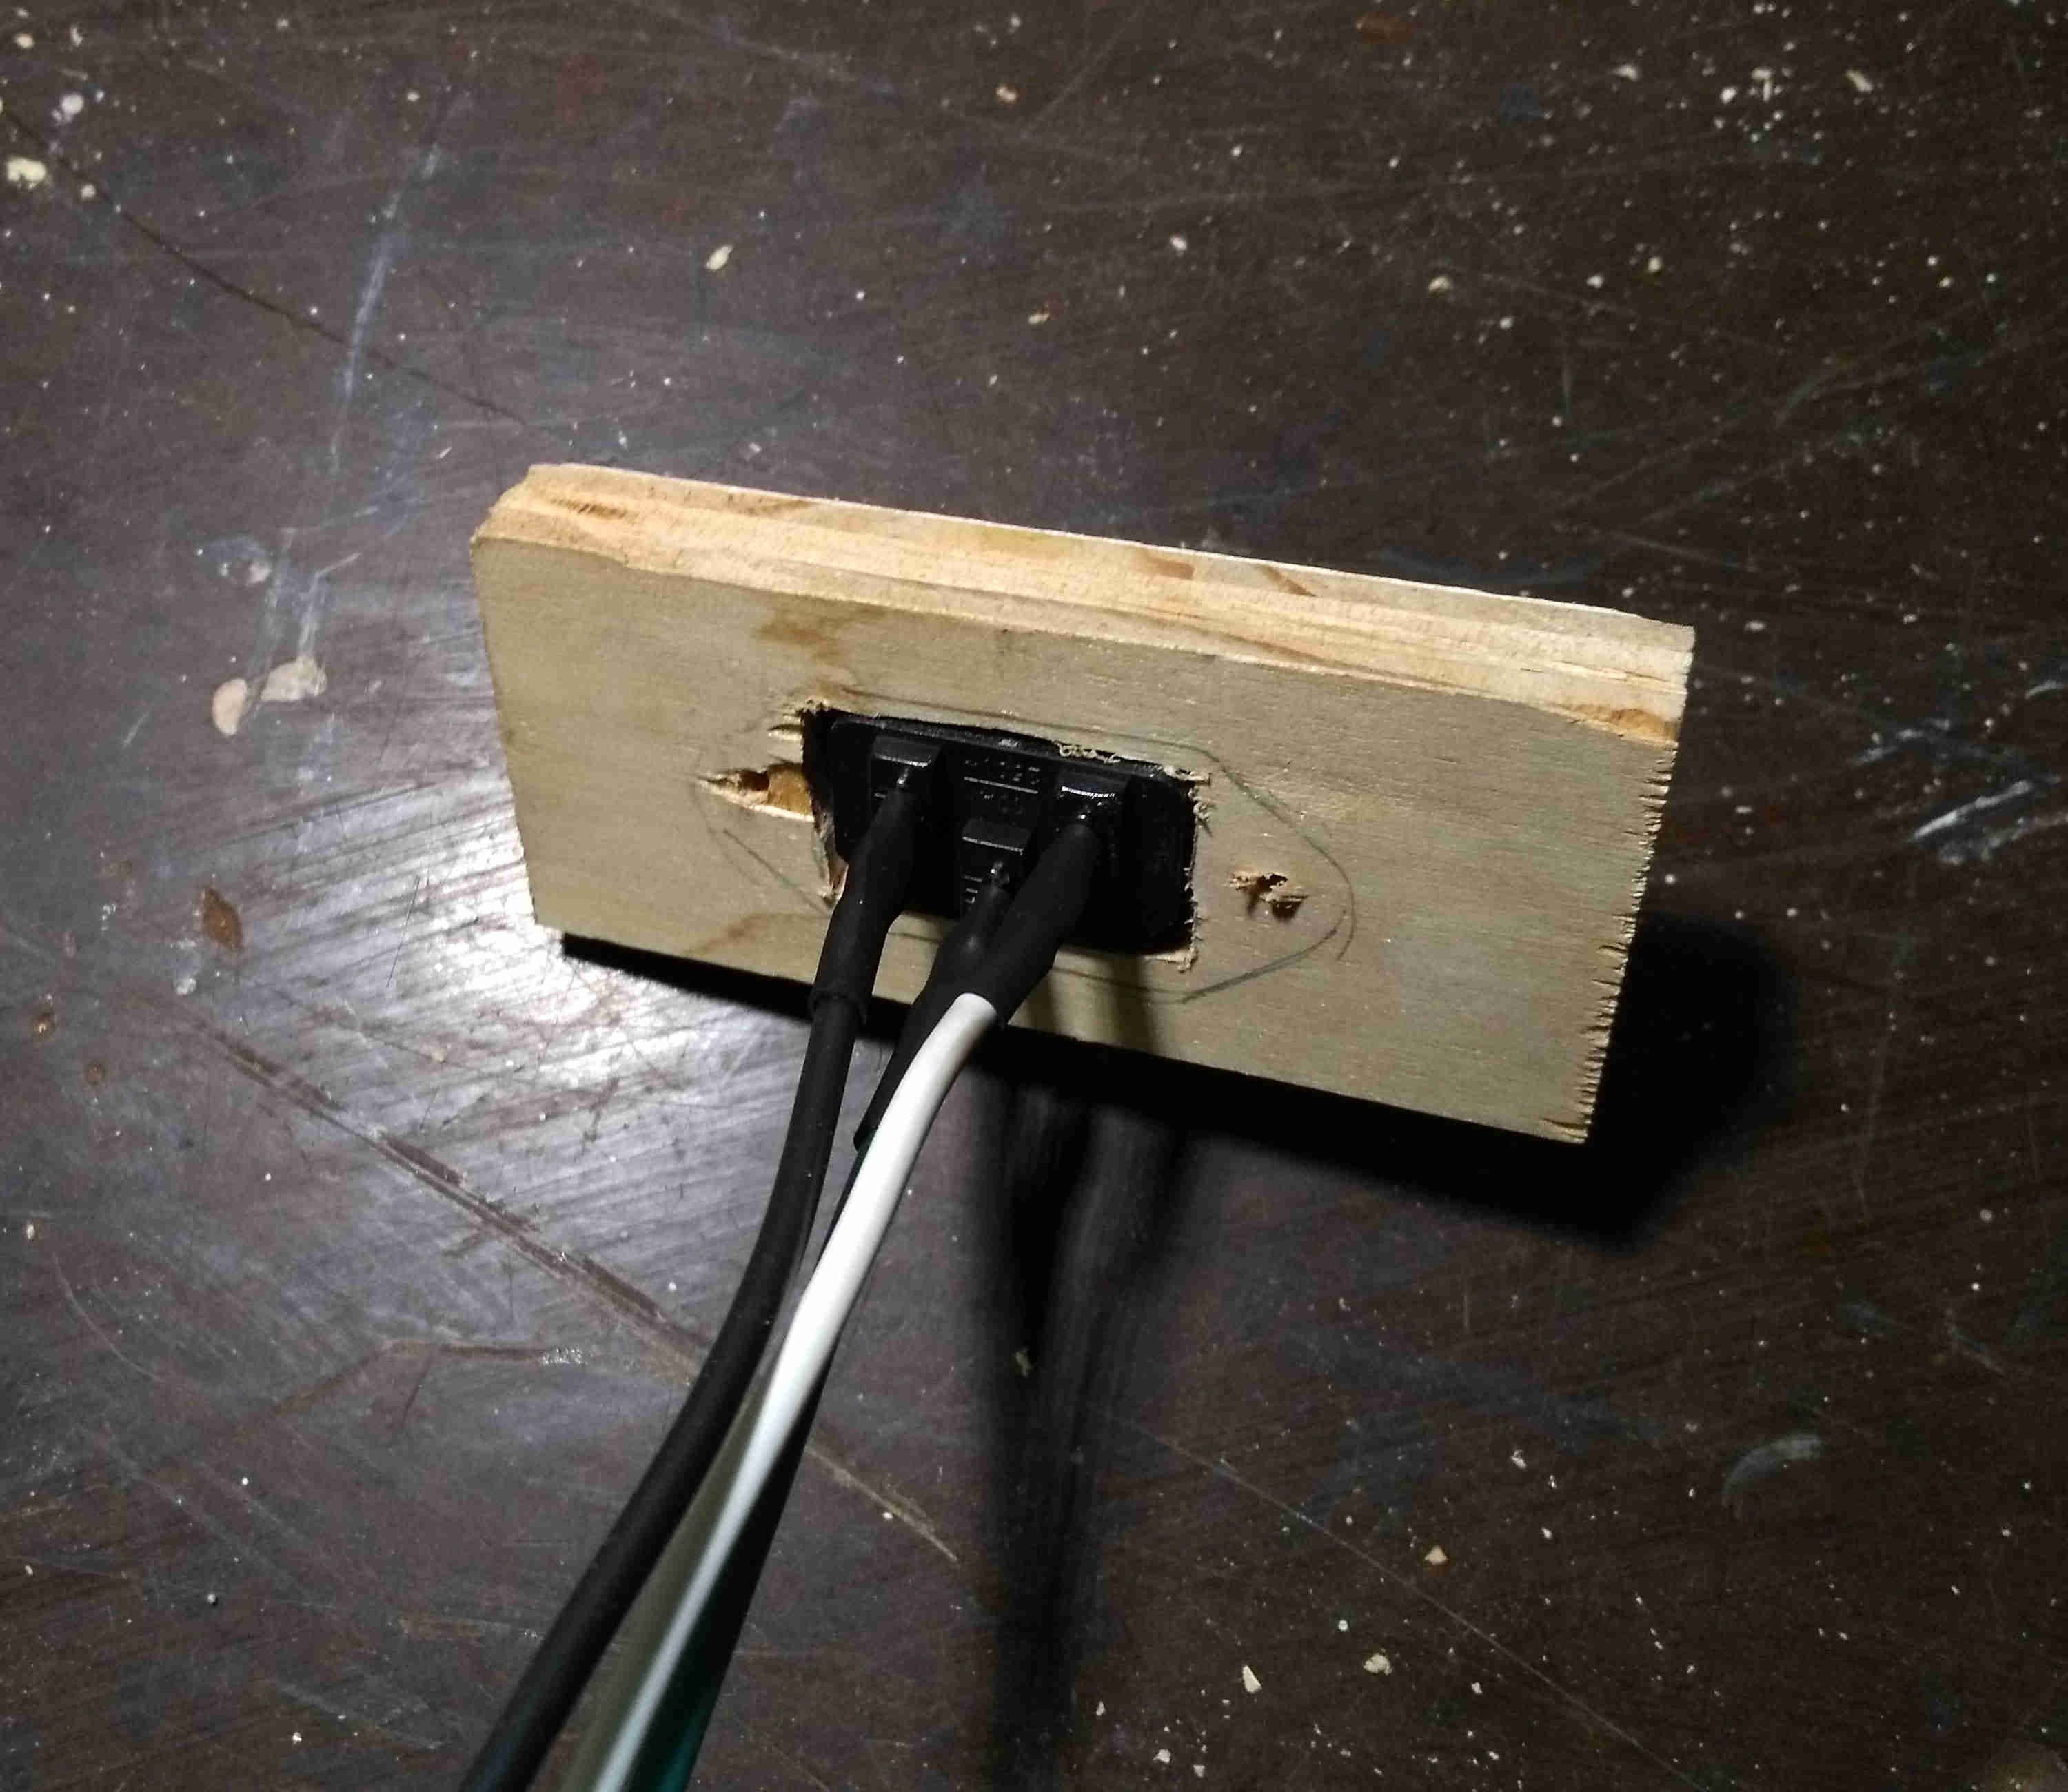
I sourced two more screws from the microwave oven pile and used them to secure the inlet in place.

I soldered on wire leads to the inlet and covered the exposed bits with heat-shrink tubing.
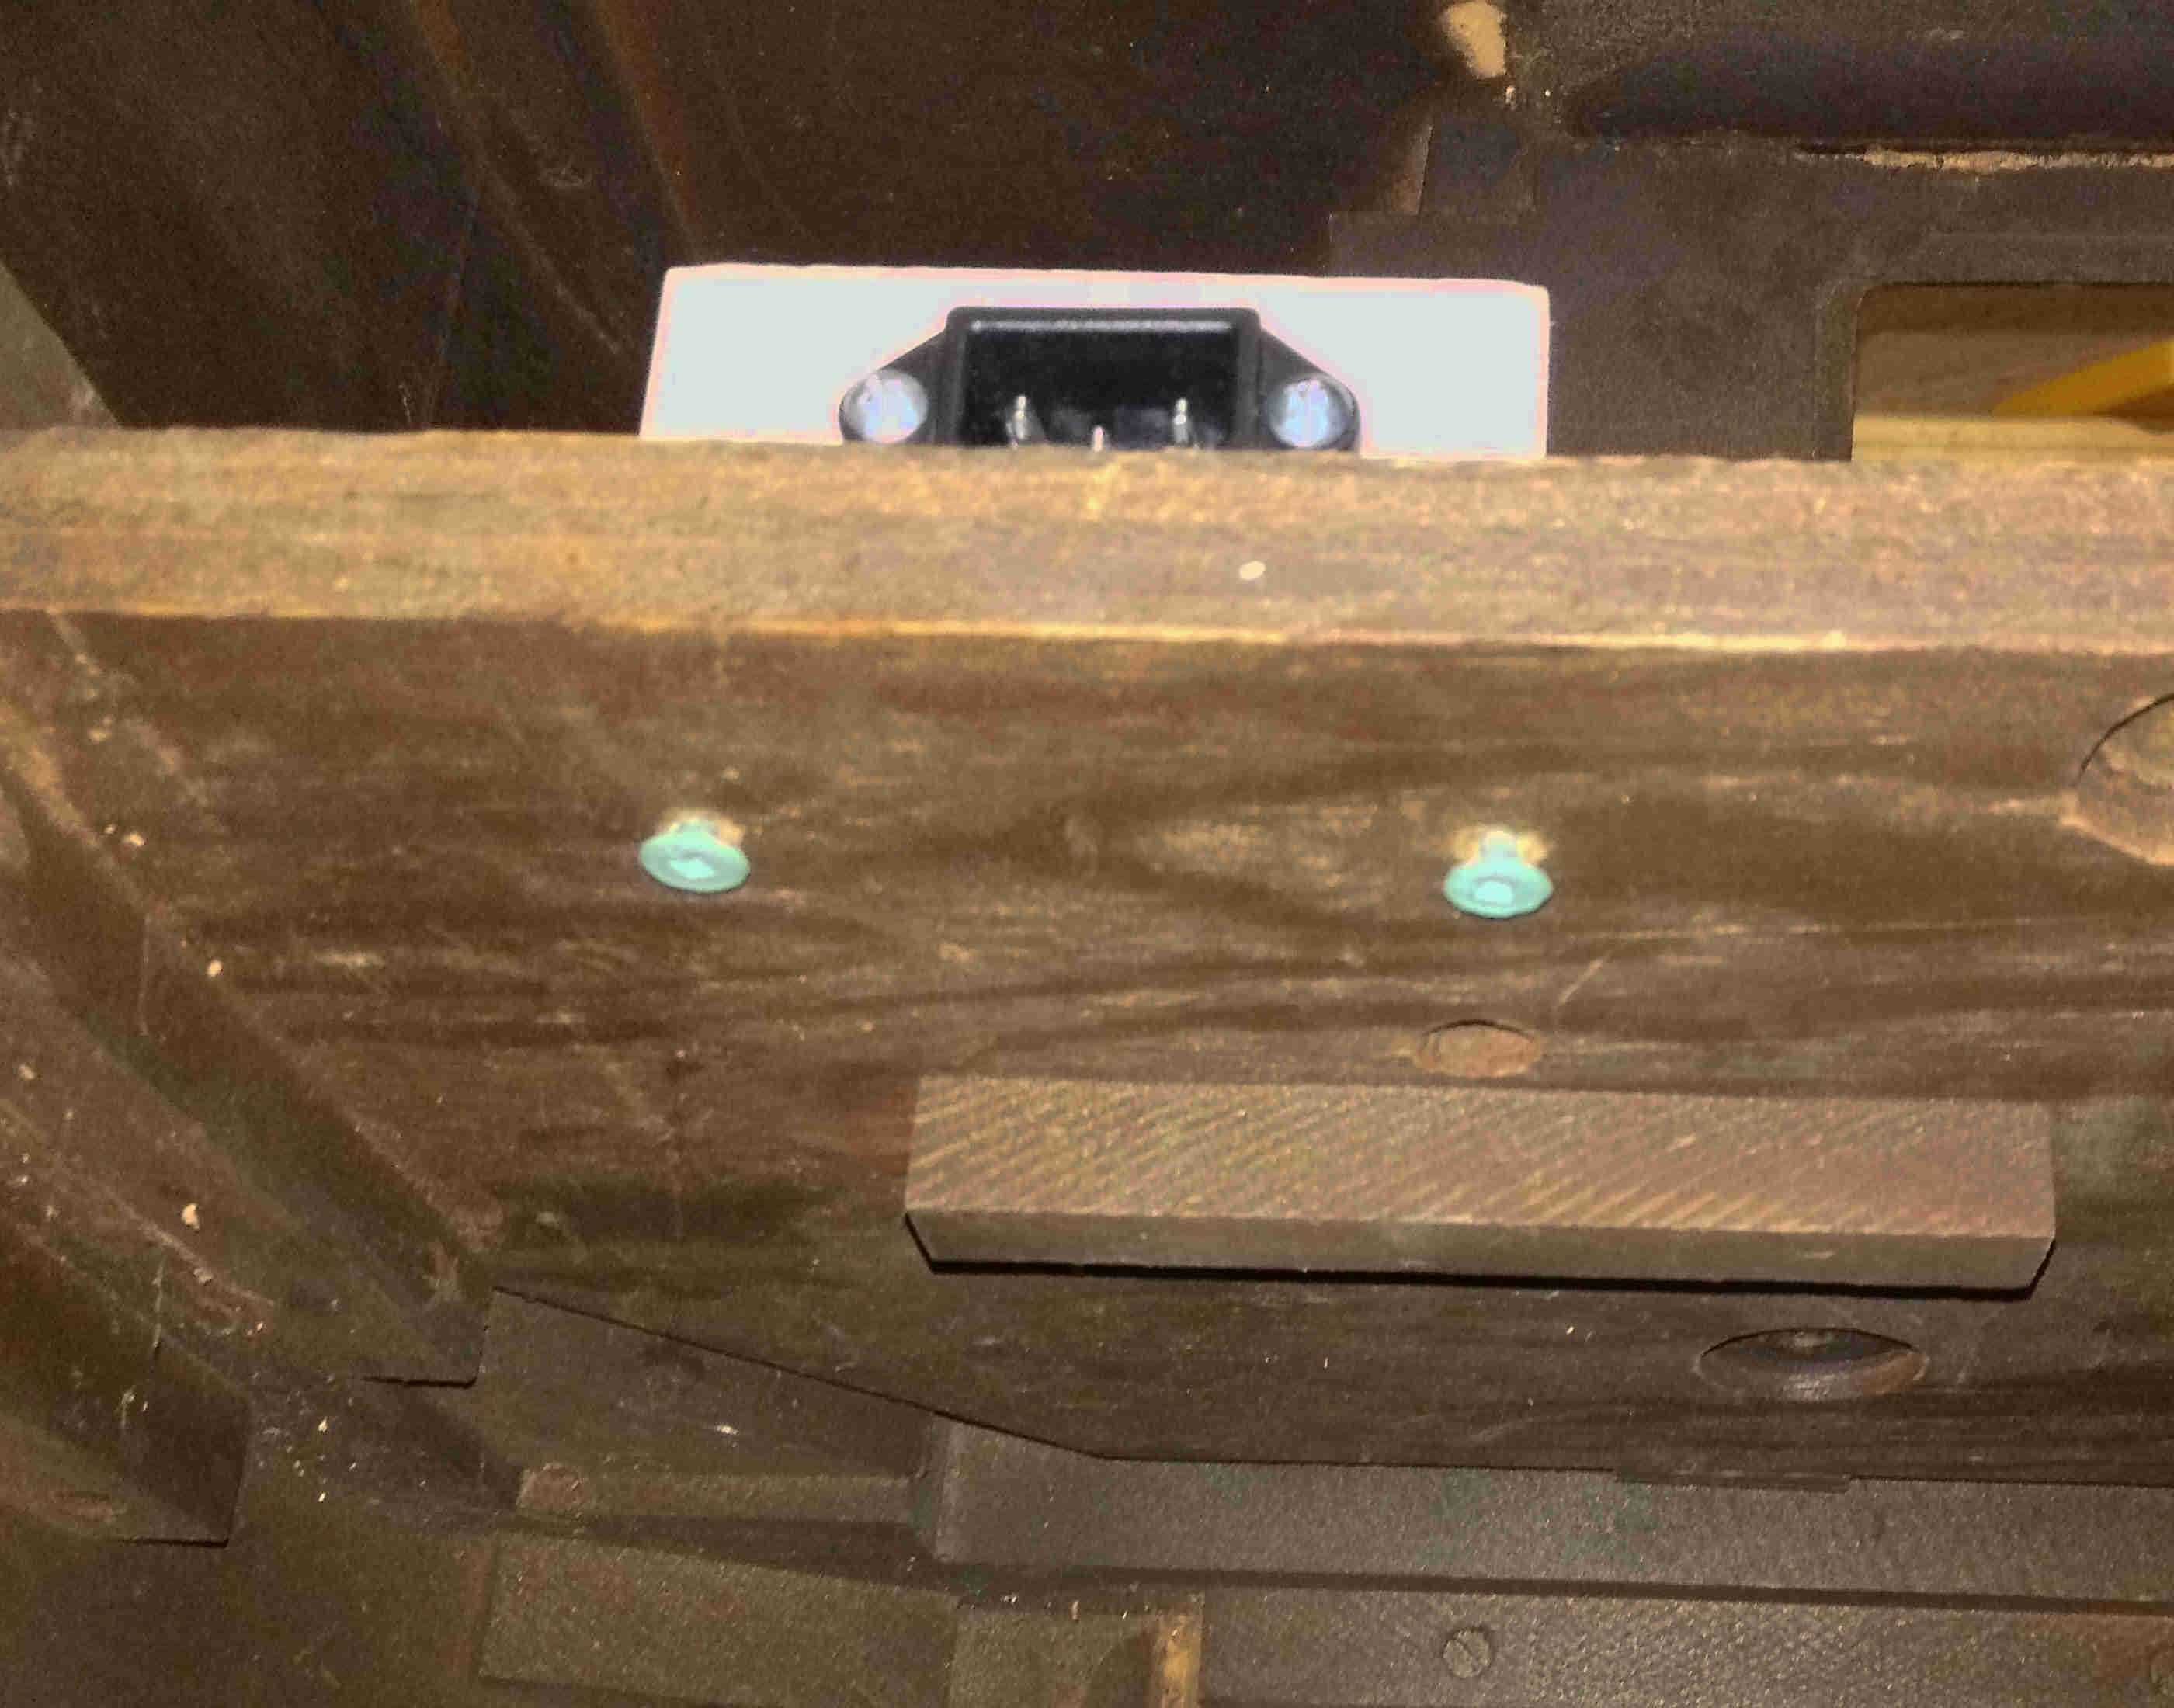
Two screws hold the inlet assembly to the shelf in the cabinet that previously held the radio circuitry.
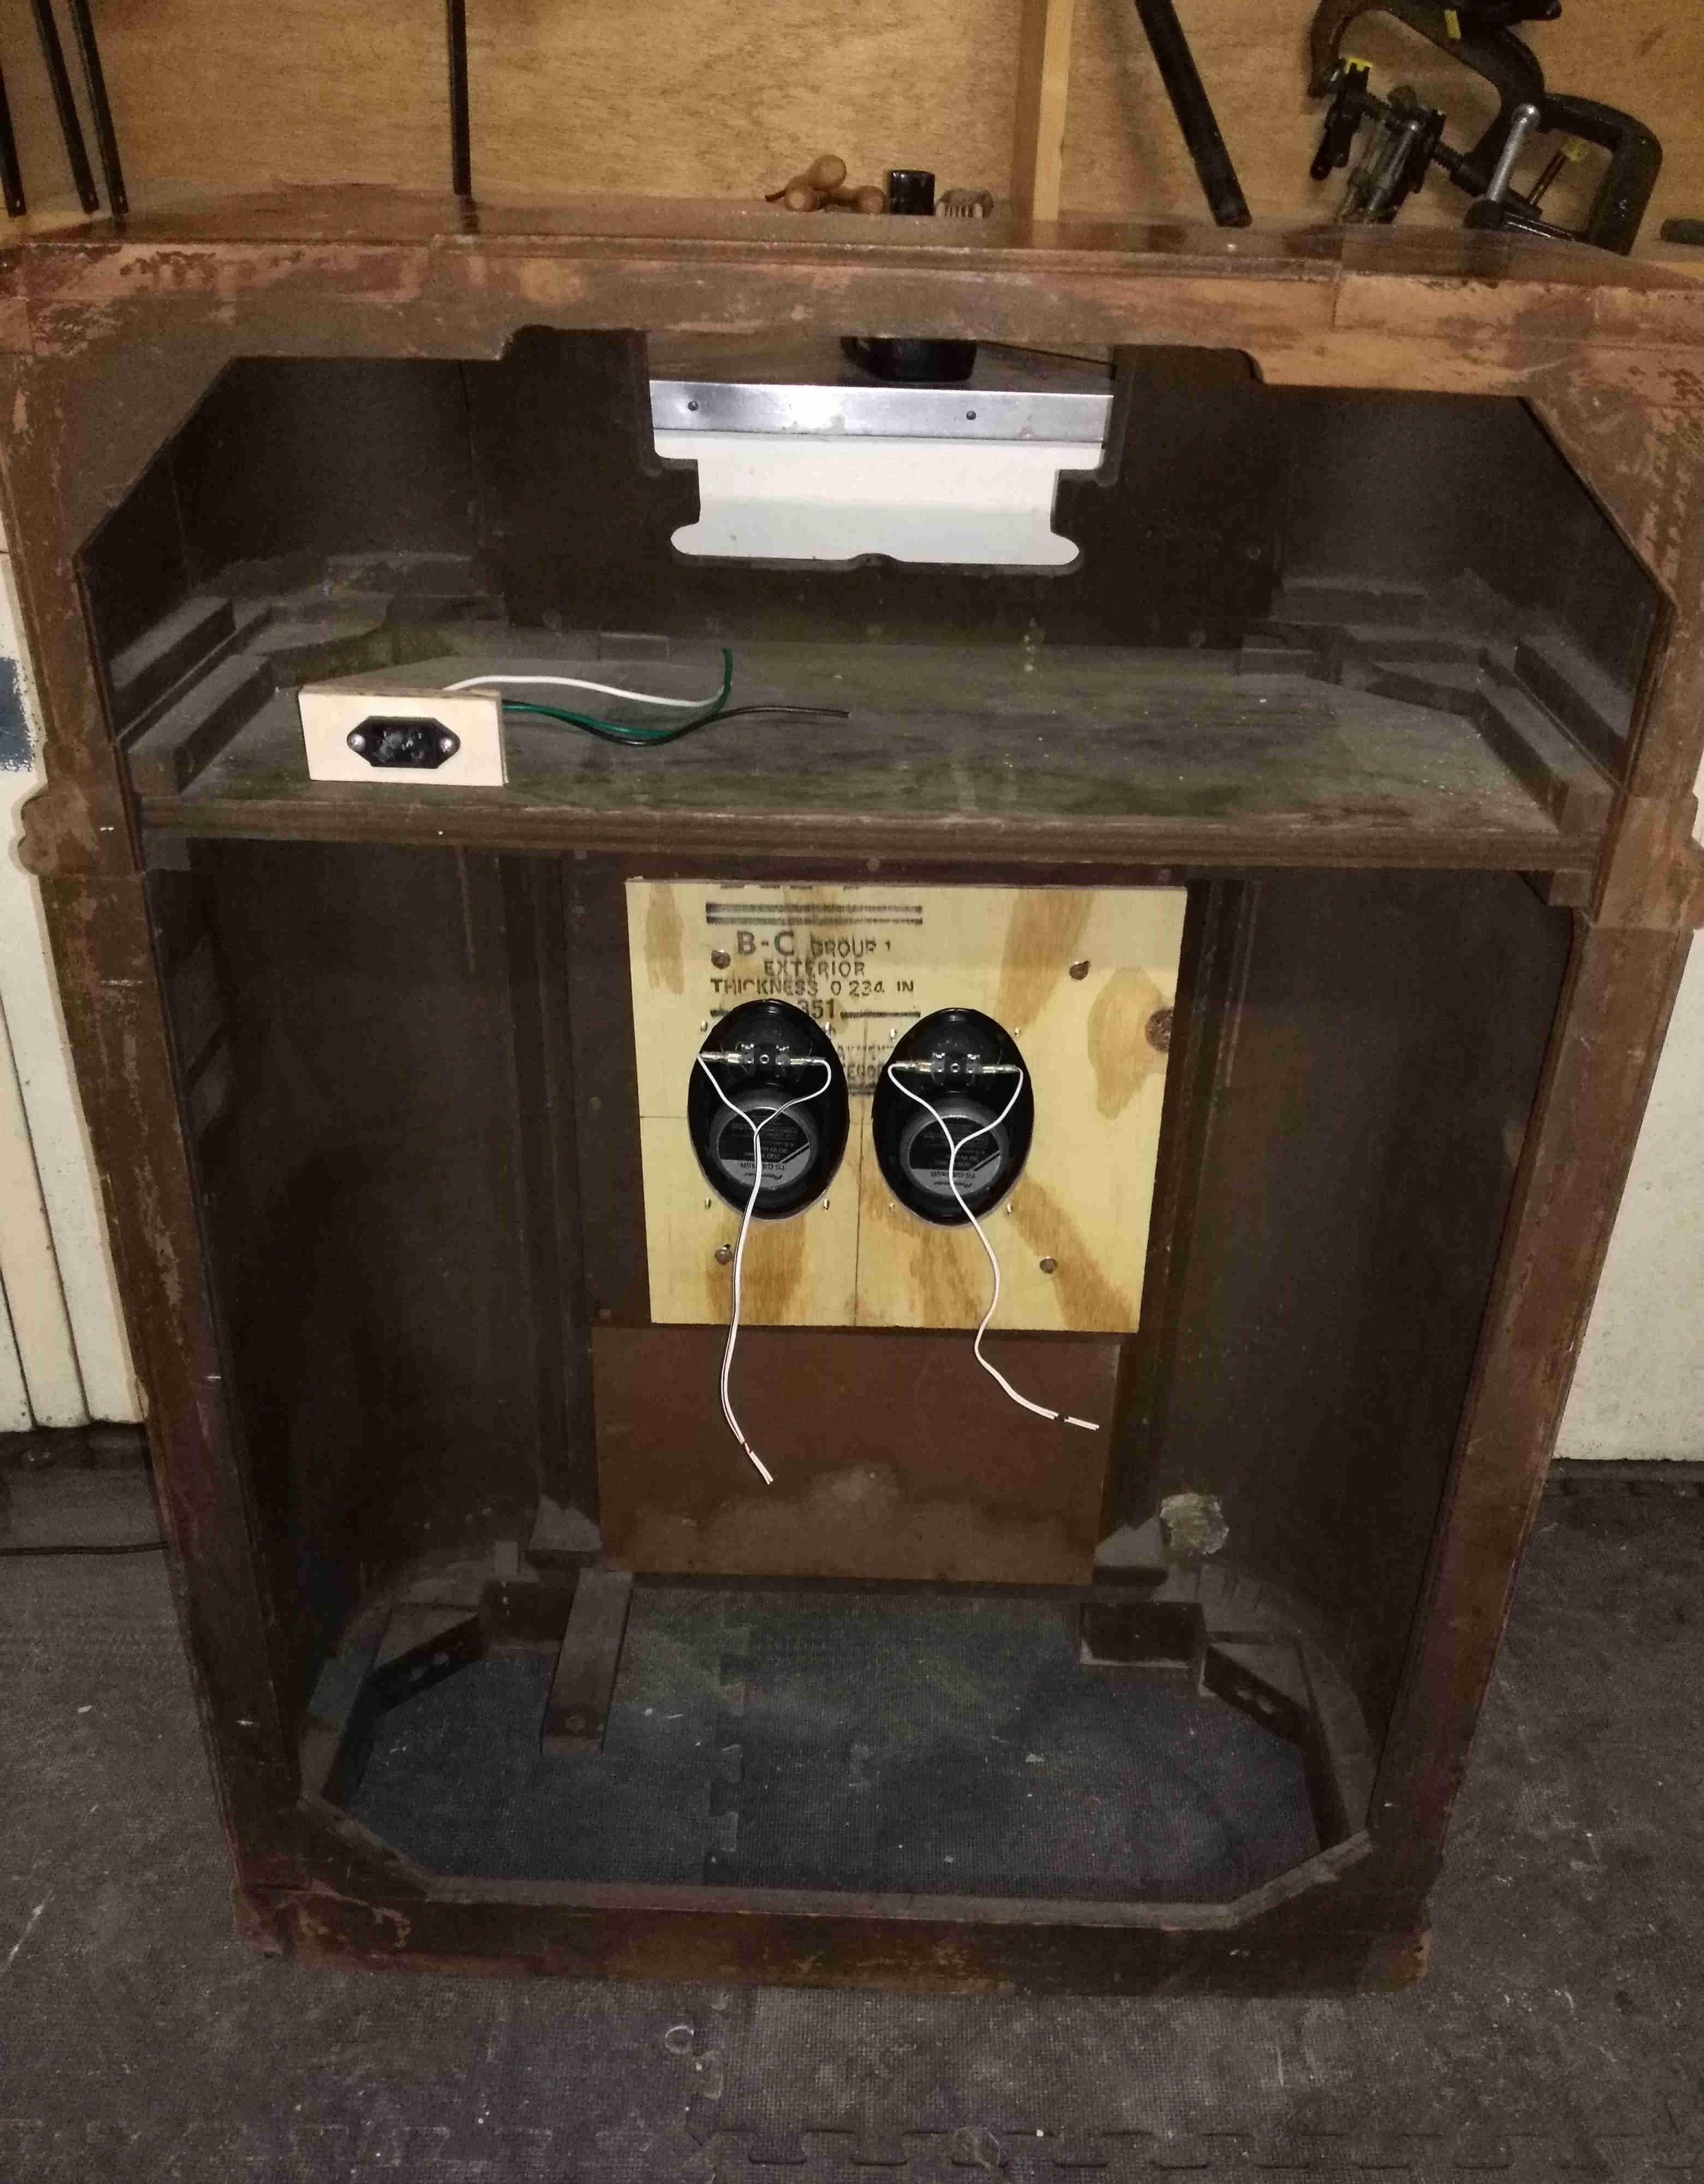
Here’s what the cabinet looks like after the new parts were installed.
A big thanks to my friend Kai who was nice enough to let me take up space in his workshop and use his collection of power tools.